Step 4. Add a Toolbar
Now, it's time for the toolbar. We will add a toolbar that will contain 3 items: "Add", "Delete" and "Help" buttons.

We will provide handlers just for the "Add" and "Delete" buttons. The "Help" button will be added only as a part of the overall interface.
To present toolbars on the page, the DHTMLX library provides the dhtmlxToolbar component which takes data in the XML format.
In the toolbar, we will use a number of custom images. The images reside in the same icons folder of the demo app (where the menu's icons are).
To attach a toolbar to the layout:
- Call the attachToolbar() method to initialize a toolbar on the page:
'index.html' file
dhtmlxEvent(window,"load",function(){
    var layout = new dhtmlXLayoutObject(document.body,"2U");
    layout.cells("a").setText("Contacts");
    layout.cells("b").setText("Contact Details");
    layout.cells("b").setWidth(500);
    var menu = layout.attachMenu();
    menu.setIconsPath("icons/");
    menu.loadStruct("data/menu.xml");
    var toolbar = layout.attachToolbar(); });
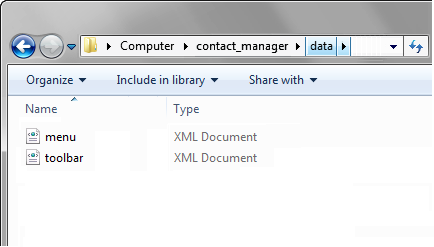
- Create an XML file with the name "toolbar " in the "data " folder.

- Open the toolbar.xml file and add the following code into it:
'toolbar.xml' file
<?xml version="1.0"?>
<toolbar>
   <item id="newContact" type="button" img="add_contact.gif"/>
   <item id="delContact" type="button" text="Delete" img="delete_contact.gif"/>
   <item id="sep01" type="separator"/>
   <item id="help" type="button" text="Help"/>
</toolbar>
- Call the setIconsPath() method to set
the path to custom toolbar's images:
'index.html' file
toolbar.setIconsPath("icons/");
- Call the loadStruct() method to load the specified controls to the toolbar:
'index.html' file
toolbar.loadStruct("data/toolbar.xml");
