Configuration
Arrow keys navigation
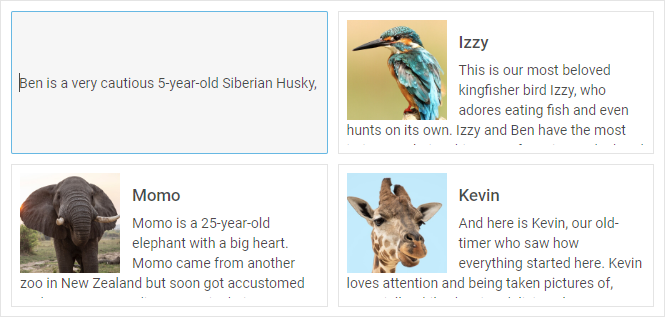
![]()
Related sample: Dataview. Arrow navigation
The DataView component provides the possibility to navigate its items with arrow keys. You can enable this functionality using the keyNavigation property:
const dataview = new dhx.DataView("dataview_container", {
    itemsInRow: 4, keyNavigation: true
});
As a value of this option you can use either true/false to switch it on/off, or you can specify a function that will define some custom navigation logic.
Default shortcut keys
| ArrowUp | moves focus to the previous vertical item |
| ArrowDown | moves focus to the next vertical item |
| ArrowLeft | moves focus to the previous horizontal item |
| ArrowRight | moves focus to the next horizontal item |
| Enter/Shift+Enter/Ctrl+Enter | adds selection to an item in focus |
| Enter | adds selection to an item in focus, activates editor for the selected item (when the "editable" property is enabled) |
| Ctrl+A | selects all items at once (when the "multiselection" property is enabled) |
Drag-n-drop of items
DHTMLX DataView supports drag-n-drop of items between dataviews in several modes. To begin with, you should specify the dragMode property in the configuration object of DataView. Then define which mode you need:
- "target" - a dataview takes items from other dataviews, while its items can't be dragged out of it
- "source" - a dataview allows dragging its items out and can't take items from other dataviews
- "both" - a dataview both takes items from other dataviews and allows dragging its items out as well
const dataview = new dhx.DataView("dataview_container", {
    dragMode:"source"
});
In order to provide the possiblity of dragging several items between dataviews, you should enable the multiselection property in addition to dragMode:
const dataview = new dhx.DataView("dataview_container", {
    dragMode:"source",
    multiselection:true
});
Read more about multiselection in DataView below.
Related sample: Dataview. Drag'n'drop
Copying dragged item
Instead of moving a dragged item to a new position in the same or a different dataview, you can copy it. Use the dragCopy option in the configuration object of a dataview.
const source = new dhx.DataView("dataview-source", {dragMode: "source", dragCopy: true});
const target = new dhx.DataView("dataview-target", {dragMode: "target", dragCopy: true});
Related sample: Dataview. Drag-n-drop copy
Editing items
Related sample: Dataview. Inline editing
You can enable the possibility to edit DataView items with the help of the editable configuration option:
const dataview = new dhx.DataView("dataview_container", {editable:true});
Height of an item

Related sample: Dataview. Setup Dataview item height
You can specify the necessary height of a Dataview item and set it before initialization of Dataview via the itemHeight property either as a number:
// sets the height of an item as a number
const dataview = new dhx.DataView("dataview_container", {
    itemHeight:34
});
or as a string value
// sets the height of an item as a string value
const dataview = new dhx.DataView("dataview_container", {
    itemHeight:"34px"
});
The usage of the CSS calc() function within the itemHeight property is not possible.
Height of the Dataview
Related sample: Dataview. Setup Dataview height
You can define the desired height of a dataview via the height configuration option as easy as that:
const dataview = new dhx.DataView("dataview_container", {height: 150});
You can also use a string value for setting the height of Dataview:
const dataview = new dhx.DataView("dataview_container", {height: "400px"});
The usage of the CSS calc() function within the height property is not possible.
Margins around DataView items
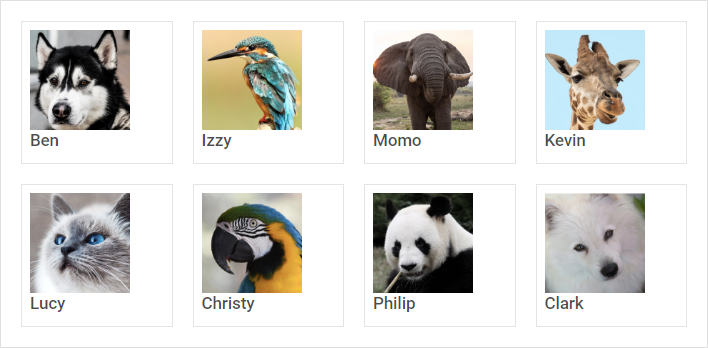
Related sample: Dataview. Configure gap size
It is possible to add margins around DataView items to increase distance between two items as well as between an item and DataView borders. Use the gap configuration property to define the desired margin:
const dataview = new dhx.DataView("dataview_container", {itemsInRow: 4, gap: 20});
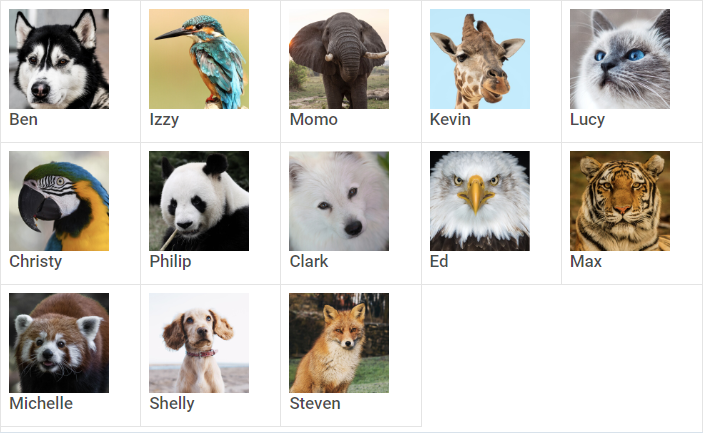
Multiple selection of items

By default, you can select only one item in a dataview, since selection of another item resets selection of the previous one. To enable the possbility to select several DataView items, make use of the multiselection configuration option:
const dataview = new dhx.DataView("dataview_container", {multiselection:true});
Setting the multiselection property to true presupposes selection of multiple items by using Ctrl key. It is also possible to use the "Ctrl+click" combination to select several items. For this, you need to set the multiselection configuration option to "ctrlClick":
const dataview = new dhx.DataView("dataview_container", {
    multiselection:"ctrlClick"
});
Related sample: Dataview. Multiselection
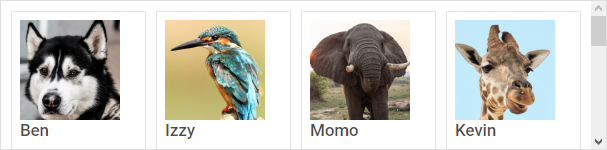
Number of items in a row
Related sample: Dataview. Amount items in a row
You can define the number of items that should be displayed in a row of DataView with the help of the itemsInRow configuration property:
const dataview = new dhx.DataView("dataview_container", {itemsInRow: 5});
Selection of items

The default configuration of DataView provides you with the selection feature that allows highlighting a DataView item. To disable selection in a DataView you need to set the selection configuration property to false:
const dataview = new dhx.DataView("dataview_container", {
    selection: false
});
Template for DataView items

Related sample: Dataview. With template
You can define a template for rendering items in a dataview with the help of the template configuration property. You need to set a function as its value and pass one parameter to it:
- item - (object) an object of a data item
const dataview = new dhx.DataView("dataview_container", {
    itemsInRow: 4,
    template: function(item) {
        let template = "<div className='item_wrap'>";
        template += "<img className='image' src=" + "../images/" + item.thumbnailName + " />";
        template += "<h2 className='title'>" + item.value + "</h2>";
        template += "<p className='description'>" + item.shortDescription + "</p>";
        template += "</div>";
        return template;
    }
});
Event handlers for the template
Starting from v7.0, it is possible to assign event handlers to the HTML elements of a custom template of DataView items by using the eventHandlers configuration option:
function template(item) {
    let template = "<div className='item_wrap'>";
    template += "<img className='image' src=" + "../images/" + item.thumbnailName + " />";
    template += "<h2 className='title'>" + item.value + "</h2>";
    template += "<p className='description'>" + item.shortDescription + "</p>";
    template += "</div>";
    return template;
}

const dataview = new dhx.DataView("dataview_container", {
    template: template,
    eventHandlers: {
        onclick: {
            item_wrap: function(event, id) {
                console.log("You clicked on " + event.target.tagName);
            },
        },
        onmouseover: {
            item_wrap: function(event, id) {
                console.log(dataview.data.getItem(id).short);
            },
        }
    }
});
Related sample: Dataview. Handling events in template