dhtmlxScheduler with Ruby on Rails
In this article we'll show you how to create a Scheduler and implement server-side integration based on Ruby on Rails framework and REST API.
If you use some other technology, check the list of available integration variants below:
- dhtmlxScheduler with ASP.NET Core
- dhtmlxScheduler with ASP.NET MVC
- dhtmlxScheduler with Node.js
- dhtmlxScheduler with FastAPI
- dhtmlxScheduler with PHP
- dhtmlxScheduler with PHP:Slim
- dhtmlxScheduler with PHP:Laravel
- dhtmlxScheduler with SalesForce LWC
- dhtmlxScheduler with dhtmlxConnector
If you have Ruby on Rails installed, you can begin to implement the integration at once. Otherwise, you should install the framework by following the steps described in the installation guide.
Once everything is ready, you can start completing the integration step by step.
Step 1. Creating a project
To add a new project just run the following command in the terminal:
rails new path/to/your/project
Step 2. Creating a controller
Now you need to add a controller that will process users' request to the server through the application. Since requests differ in their type, you need to separate controllers for certain requests.
To define the connection between a controller and the type of request, routing will be used. Different routes can be served by different actions. The actions collect information which will be passed to the view.
Let's create a new controller with the name "home" and a new action called "index".
cd path/to/your/project
rails generate controller home index
The output should confirm that new files were created.
Step 3. Specifying routing
To configure the routing, open the file config/routes.rb. Find the following line at the very beginning of this file:
get 'home/index'
and replace it with the following one:
root :to => 'home#index'
get "data", :to=>"event#get", :as=>"data"
post "data(/:id)", :to => "event#add"
put "data/:id", :to => "event#update"
delete "data/:id", :to => "event#delete"
After that you can test the server by running in the command line:
rails server
Open http://localhost:3000/ in your browser. The result should be like this:
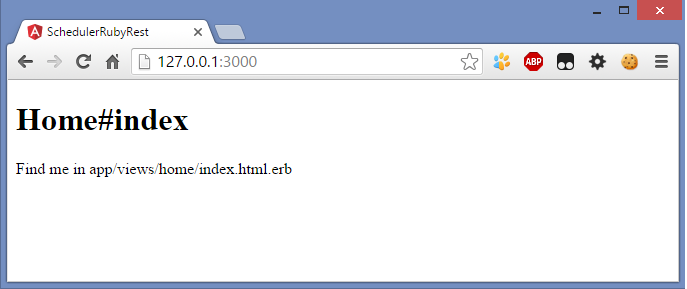
So the server is ready and you can proceed with views adding.
Step 4. Including source files
To begin with, you should download the dhtmlxScheduler package.
Complete the next steps:
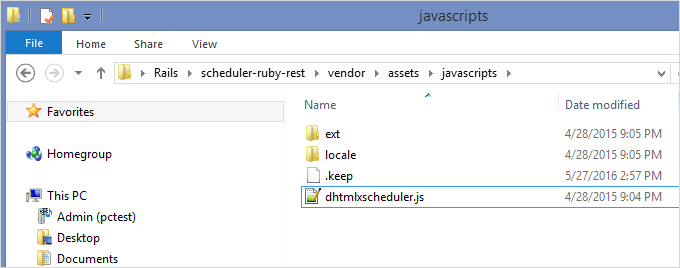
- Unpack the file codebase/dhtmlxscheduler.js and the directories codebase/ext and codebase/locale from the package to the directory vendor/assets/javascripts/ of your project.
You should get something like following:
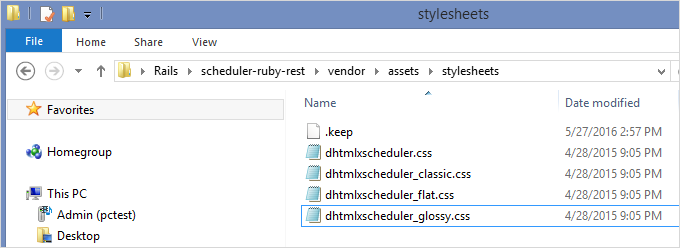
- Unpack the files
- codebase/dhtmlxscheduler.css
- codebase/dhtmlxscheduler_classic.css
- codebase/dhtmlxscheduler_flat.css
- codebase/dhtmlxscheduler_glossy.css
from the package to the directory vendor/assets/stylesheets/ of your project.
The result should be like this:
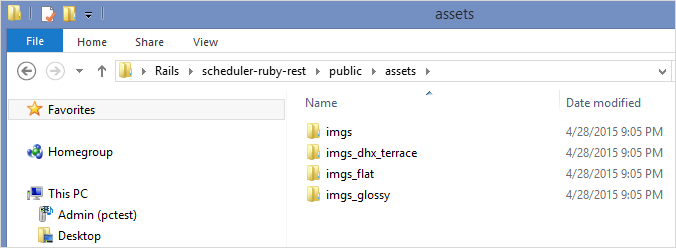
- In the "public" directory create the "assets" folder and unpack the following files into it:
- codebase/imgs
- codebase/imgs_dhx_terrace
- codebase/imgs_flat
- codebase/imgs_glossy
This is what you get:
- Open the config/initializers/assets.rb file and add dhtmlxscheduler.js and dhtmlxscheduler.css files to the precompile array. For this purpose, use the code below:
Rails.application.config.assets.precompile += %w( dhtmlxscheduler.css )
Rails.application.config.assets.precompile += %w( dhtmlxscheduler.js )
Step 5. Creating views
Now you are ready to create a view. Views will visualize the information gathered by actions.
If there's no controller-specific layout, Rails will use the app/views/layouts/application.html.erb file as a template for all pages that have common elements. You should add scheduler js and css files here, so add following strings to header:
<!DOCTYPE html>
<html>
<head>
 <title>SchedulerRubyRest</title>
 (= stylesheet_link_tag 'application',media:'all','data-turbolinks-track'=>true )
 (= javascript_include_tag 'application', 'data-turbolinks-track' => true )
 (= stylesheet_link_tag 'dhtmlxscheduler',media:'all','data-turbolinks-track'=>true )
 (= javascript_include_tag 'dhtmlxscheduler', 'data-turbolinks-track' => true )
 (= csrf_meta_tags )
</head>
<body>

(= yield )

</body>
</html>
At this point you can specify a view for the "home" controller that was created at the Step 2. For this, open the file app/views/home/index.html.erb. You need to add a container for the future scheduler and initialize the Scheduler, like this:
<div id="scheduler_here" class="dhx_cal_container" style='width:100%; height:800px;'>
<div class="dhx_cal_navline">
<div class="dhx_cal_prev_button"> </div>
<div class="dhx_cal_next_button"> </div>
<div class="dhx_cal_today_button"></div>
<div class="dhx_cal_date"></div>
<div class="dhx_cal_tab" name="day_tab" style="right:204px;"></div>
<div class="dhx_cal_tab" name="week_tab" style="right:140px;"></div>
<div class="dhx_cal_tab" name="month_tab" style="right:76px;"></div>
</div>
<div class="dhx_cal_header">
</div>
<div class="dhx_cal_data">
</div>
</div>
<script>
scheduler.init("scheduler_here", new Date(2016,4,27), "week");
</script>
After that have a look at the current result. Open http://localhost:3000/ (the rails server) in a browser. You will see an empty scheduler:
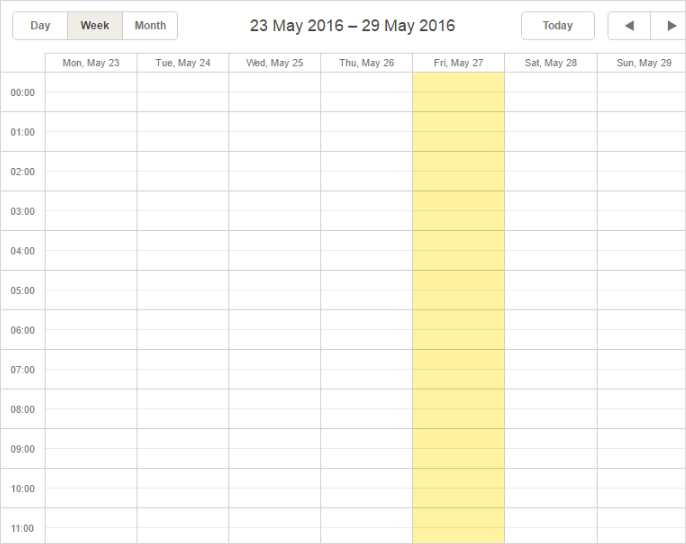
Thus you've got a scheduler where you can add events and modify them. But it lacks the saving ability. To provide it, you need to proceed with creating models.
Step 6. Creating models
Since Scheduler operates events entities, you need to add a model for them.
To create a model for events, run the following command that contains the event's properties:
rails generate model Event start_date:datetime end_date:datetime text:string
You can find the list of mandatory properties of the Event object with their descriptions in the corresponding article of documentation.
After that create a new database:
rake db:migrate
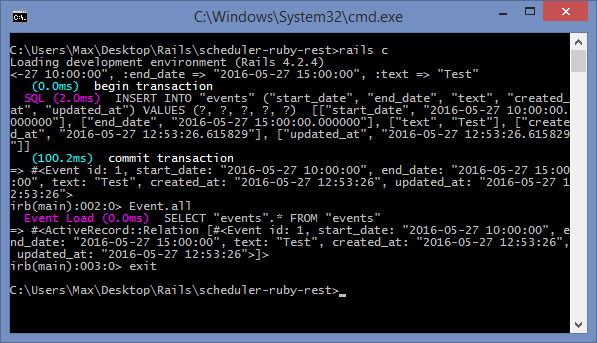
Now you can try to add an entry into it. The algorithm is the following:
1 . Open the Rails console by running:
rails c
2 . Add the desired events like this:
Event.create
    :start_date => "2016-05-27 10:00:00",
    :end_date => "2016-05-27 15:00:00",
    :text => "Test";
3 . To display all events, run the command:
Event.all
4 . Enter "exit" to close the console.
Next you need to implement data loading and saving in the scheduler with the help of controllers.
Step 7. Creating event controller
General technique of loading data using REST API
There's a common technique for loading data into Scheduler from the server side.
You will find the requirements to the client side, as well as the description of possible requests and responses in the Server-Side Integration article.
Below you will fine the info on how to load data into Scheduler using Ruby on Rails server side.
Event Controller
To create a new controller event, run the following command:
rails generate controller event
We will add the code that will enable data adding, changing and deleting into the file of this event - app/controllers/event_controller.rb:
class EventController < ApplicationController
    protect_from_forgery

    def get
         events = Event.all

        render :json => events.map {|event| {
            :id => event.id,
            :start_date => event.start_date.to_formatted_s(:db),
            :end_date => event.end_date.to_formatted_s(:db),
            :text => event.text
        }}
    end

    def add
        event = Event.create
            :text=>params["text"],
            :start_date=>params["start_date"],
            :end_date=>params["end_date"]

        render :json=>{:action => "inserted", :tid => event.id}
    end

    def update
        event = Event.find(params["id"])
        event.text = params["text"]
        event.start_date = params["start_date"]
        event.end_date = params["end_date"]
        event.save

        render :json=>{:action => "updated"}
    end

    def delete
        Event.find(params["id"]).destroy

        render :json=>{:action => "deleted"}
    end
end
The code of Task Controller includes the following types of requests:
- GET request is used to load data into Scheduler
It will make an object with data for a Gantt chart and will contain a list of events. The dates of events should be converted into appropriate strings.
- POST request means that a new item needs to be inserted into the database
- PUT request updates an existing record
- DELETE request goes for deleting
All actions return a JSON response containing the type of the performed operation or "error" if something went wrong.
Note that a response for the "insert" action also contains a database id of the new record. It will be applied on the client side, so the new item could be mapped to the database entity.
Step 8. Initializing Scheduler
The last thing you have to do is to put the following code into the <script></script> part of the app/views/home/index.html.erb file.
scheduler.config.xml_date="%Y-%m-%d %H:%i";
scheduler.init("scheduler_here", new Date(2016,4,27), "week");
scheduler.load("(= data_path )/");

var dp = scheduler.createDataProcessor("(= data_path )/");
dp.init(scheduler);
dp.setTransactionMode("REST");
It initializes Scheduler and enables it to load and save data. That's all. Now you can run the application in a browser and see the result.
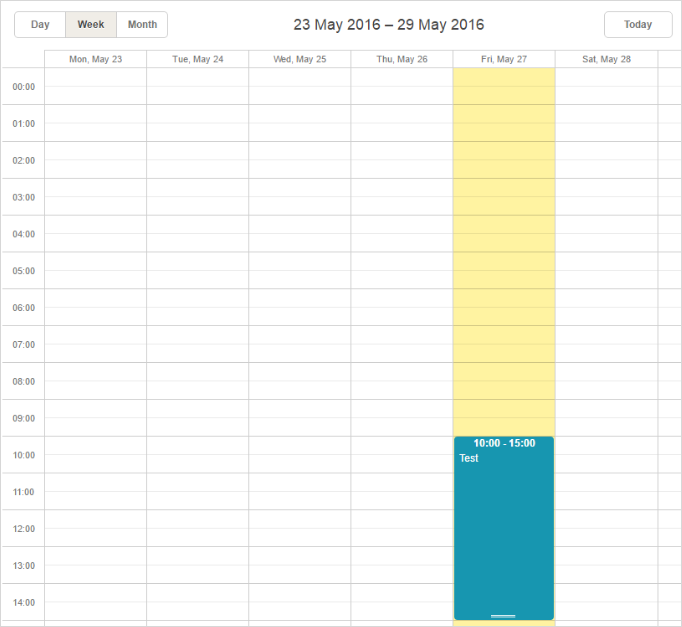
As you can see, an event appeared in the scheduler. You have added it at the Step 6. Now you can add more events and modify them. All the changes will be saved in the database.
Recurring events
For recurring events you need three additional fields:
-
rec_type (stores recurring logic);
-
event_pid (parent ID of a series of events);
-
event_length (a real length of a series of events).
Also you should remove the old model. For this run the following line:
rails destroy model Event
Use the following command to create a new model:
rails generate model Event start_date:datetime end_date:datetime text:string
rec_type:string event_length:integer event_pid:integer
Remove the events table from the database or remove db/development.sqlite3.
After that you need to run a migration:
rake db:migrate
Then open app/controllers/home_controller.rb
Here you should change "db_action" action and "data" for saving and loading of recurring events:
class HomeController < ApplicationController
 def index
 end

 def data
   events = Event.all

   render :json => events.map {|event| {
              :id => event.id,
              :start_date => event.start_date.to_formatted_s(:db),
              :end_date => event.end_date.to_formatted_s(:db),
              :text => event.text,
              :rec_type => event.rec_type,
              :event_length => event.event_length,
              :event_pid => event.event_pid
          }}
 end

 def db_action
   mode = params['!nativeeditor_status']
   id = params['id']
   start_date = params['start_date']
   end_date = params['end_date']
   text = params['text']
   rec_type = params['rec_type']
   event_length = params['event_length']
   event_pid = params['event_pid']
   tid = id

   case mode
     when 'inserted'
       event = Event.create :start_date => start_date, :end_date => end_date,
                               :text => text,:rec_type => rec_type,
                            :event_length => event_length, :event_pid => event_pid
       tid = event.id
       if rec_type == 'none'
         mode = 'deleted'
       end

     when 'deleted'
       if rec_type != ''
         Event.where(event_pid: id).destroy_all
       end

       if event_pid != 0 and event_pid != ''
         event = Event.find(id)
         event.rec_type = 'none'
         event.save
       else
         Event.find(id).destroy
       end

     when 'updated'
       if rec_type != ''
         Event.where(event_pid: id).destroy_all
       end
       event = Event.find(id)
       event.start_date = start_date
       event.end_date = end_date
       event.text = text
       event.rec_type = rec_type
       event.event_length = event_length
       event.event_pid = event_pid
       event.save
   end

   render :json => {
              :type => mode,
              :sid => id,
              :tid => tid,
          }
 end
end
Next open the app/views/home/index.html.erb file and add the recurring plugin call:
scheduler.plugins({
    recurring: true
});

scheduler.init("scheduler_here", new Date(2016,4,27), "week");
scheduler.load("(= data_path )/");

var dp = scheduler.createDataProcessor({
    url: "(= data_path )/",
    mode: "REST"
});
Finally, run the server once again to check scheduler with recurring events:
rails server
recurring events on rails
If you've precisely followed the given instructions, you should now have a ready-to-use scheduler with recurring events that perfectly works with Rails framework.
Trouble shooting
In case you've completed the above steps to implement Scheduler integration with Ruby on Rails, but Scheduler doesn't render events on a page, have a look at the Troubleshooting Backend Integration Issues article. It describes the ways of identifying the roots of the problems.
What's next
You can check guides on the numerous features of Scheduler or tutorials on integration of Scheduler with other backend frameworks.