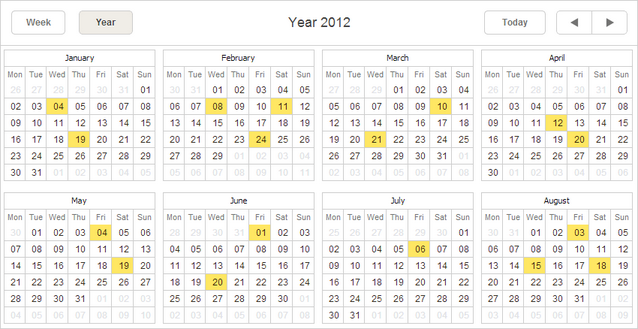
Year View
The Year view presents a single or more years of the calendar.
Initialization
To add the Year view to the scheduler, follow these steps:
1.Activate the Year extension on the page:
scheduler.plugins({
    year_view: true
});
2.Add the view's tab to the scheduler's markup:
<div id="scheduler_here" class="dhx_cal_container" ...>
    <div class="dhx_cal_navline">
       ...
       <div class="dhx_cal_tab" name="year_tab" style="right:280px;"></div>
    </div>
    ...
</div>
3.Set the label for the tab:
//'year_tab' is the name of our div
scheduler.locale.labels.year_tab ="Year";
GUI details
- Dates which have some events assigned are highlighted.
- Hovering over a date will show the tooltip with a list of all assigned events. You can click on the 'details' icon inside the tooltip to open the lightbox (if only the readonly mode is not activated).
Setting the number of months in the view
To define the number of months in a row and a column, use the year_x and year_y properties:
//the Year view will display only 6 months
scheduler.config.year_x = 2; //2 months in a row
scheduler.config.year_y = 3; //3 months in a column
Related guides
Need help?
Got a question about the documentation? Reach out to our technical support team for help and guidance. For custom component solutions, visit the Services page.