dhtmlxGantt with React
This tutorial covers the usage of the JS DHTMLX Gantt in React apps. If you want to use the official React Gantt component, please refer to React Gantt article.
You should be familiar with the basic concepts and patterns of React to use this documentation. If you are not, please refer to the React documentation for a getting-started tutorial.
DHTMLX Gantt is compatible with React. You can check the corresponding example on GitHub: DHTMLX Gantt with React Demo.
Creating a project
Before you start to create a new project, install Node.js.
You can create a basic React project using the following command:
npx create-vite my-react-gantt-app --template react
Installation of dependencies
Next you should go to the app directory. Let's call our project my-react-gantt-app and run:
cd my-react-gantt-app
After that you should install dependencies and start the dev server. For this, you need to make use of a package manager:
- if you use yarn, you need to call the following commands:
yarn install
yarn dev
- if you use npm, you need to call the following commands:
npm install
npm run dev
You should now have your React project running on http://localhost:5173.

Creating Gantt
Now we should get the DHTMLX Gantt code. Firstly, we need to stop the app by pressing Ctrl+C in the command line. Then we can proceed with installing the Gantt package.
Step 1. Package installation
The PRO versions of the library are available for the npm/yarn install from our private repository, please follow this instruction to gain access to it.
After you've got the Evaluation version of the Gantt, you can install it with the following commands:
- for npm:
npm install @dhx/trial-gantt
- for yarn:
yarn add @dhx/trial-gantt
Alternatively, since the zip-package of the library is structured as an npm module, you can install it from a local folder.
Step 2. Component creation
Now we should create a React component, to add a Gantt into the application. Let's create the Gantt.jsx file in the src/ directory.
Importing source files
Open the newly created Gantt.jsx file and import Gantt source files. Note that:
- if you've installed the Gantt package from a local folder, your import paths will look like this:
Gantt.jsx
import { Gantt} from "dhtmlx-gantt";
import "dhtmlx-gantt/codebase/dhtmlxgantt.css";
- if you've chosen to install the trial version, the import paths should be as in:
Gantt.jsx
import { Gantt} from "@dhx/trial-gantt";
import "@dhx/trial-gantt/codebase/dhtmlxgantt.css";
In this tutorial, we will use the trial version of Gantt.
Setting the container and adding Gantt
To display Gantt on the page, we need to set the container to render the component inside. The Gantt.jsx file should contain the following code:
Gantt.jsx
import { useEffect, useRef } from "react"; import { Gantt } from "@dhx/trial-gantt";
import "@dhx/trial-gantt/codebase/dhtmlxgantt.css";

export default function GanttView() {   let container = useRef();
  useEffect(() => {     let gantt = Gantt.getGanttInstance();     gantt.init(container.current);
    return () => {       gantt.destructor();       container.current.innerHTML = "";     };   }, []);
  return <div ref={container} style={ {width: "100%", height: "100%"} }></div>; }
Step 3. Adding Gantt into the app
Now it's time to add the component into our app. Open src/app.jsx and use the Gantt component instead of the default content by inserting the code below:
src/app.jsx
import Gantt from "./Gantt";

function App() {
  return <Gantt/>;
}

export default App;
To make the Gantt container occupy the entire space of the body, you need to remove the default styles from the index.css file located in the src/ folder and add the following one:
src/index.css
html,
body,
#root {
  height: 100%;
  padding: 0;
  margin: 0;
}
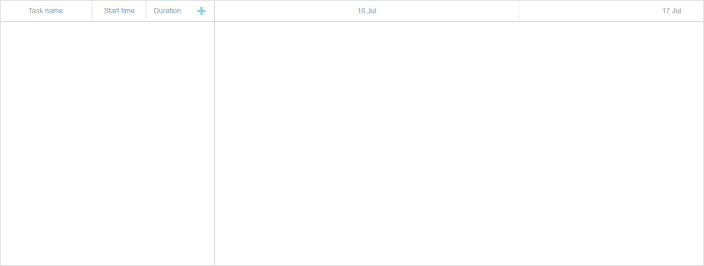
After that, when we start the app, we should see an empty Gantt on a page:
Step 4. Providing Data
To add data into the Gantt, we need to provide a data set. Let's create the data.js file in the src/ directory and add some data into it:
src/data.js
export function getData() {
  const tasks = {
    data: [
      {
        id: "10",
        text: "Project #1",
        start_date: "01-04-2025",
        duration: 3,
        order: 10,
        progress: 0.4,
        open: true,
      },
      {
        id: "1",
        text: "Task #1",
        start_date: "01-04-2025",
        duration: 1,
        order: 10,
        progress: 0.6,
        parent: "10",
      },
      {
        id: "2",
        text: "Task #2",
        start_date: "02-04-2025",
        duration: 2,
        order: 20,
        progress: 0.6,
        parent: "10",
      },
    ],
    links: [{ id: 1, source: 1, target: 2, type: "0" }],
  };
  return tasks;
}
We should pass props (our data) to a Gantt component in App.jsx:
App.jsx
import Gantt from "./Gantt";
import { getData } from "./data.js";

function App() {
  return <Gantt tasks={getData()} />;
}

export default App;
And use the props in the gantt.parse() method in the Gantt component:
Gantt.jsx
import { useEffect, useRef } from "react";
import { Gantt } from "@dhx/trial-gantt";
import "@dhx/trial-gantt/codebase/dhtmlxgantt.css";

export default function GanttView(props) {
  let container = useRef();

  useEffect(() => {
    let gantt = Gantt.getGanttInstance();
    gantt.init(container.current);
    gantt.parse(props.tasks);
    return () => {
      gantt.destructor();
      container.current.innerHTML = "";
    };
  }, []);

  return <div ref={container} style={ {width: "100%", height: "100%"} }></div>;
}
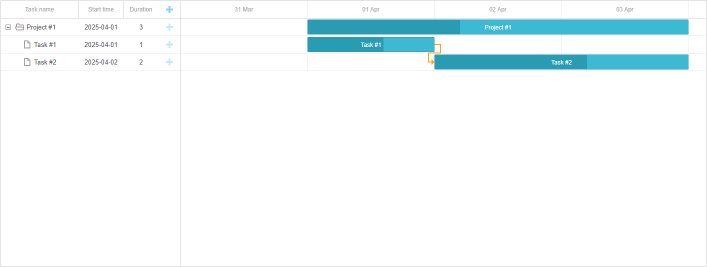
Now, if you reopen the app page, you should see a Gantt with tasks:
Step 5. Saving Data
To capture changes made in the Gantt, you can use a dataProcessor handler that lets you "communicate" with the server-side backend. The handler can be declared either as a function or as a router object. dhtmlxGantt accepts a Promise response from the handler, so your Gantt will correctly process the completion of an action.
You can create a DataProcessor via the createDataProcessor() API method and capture changes like this:
gantt.createDataProcessor(function(entity, action, data, id) {
gantt.message(`${entity} ${action}`);
});
If your service changes the task id after creating a new record (which it usually does), make sure that your Promise returns an object with {id: databaseId} or {tid: databaseId} as a result, so that Gantt could apply the new database id to the record. Get more information about the server side.
Well, React Gantt is ready, you are welcome to check out the full demo on GitHub.
XSS, CSRF and SQL Injection Attacks
Pay attention that Gantt doesn't provide any means of preventing an application from various threats, such as SQL injections or XSS and CSRF attacks. It is important that responsibility for keeping an application safe is on the developers implementing the backend.
Check the Application Security article to learn the most vulnerable points of the component and the measures you can take to improve the safety of your application.
Back to top