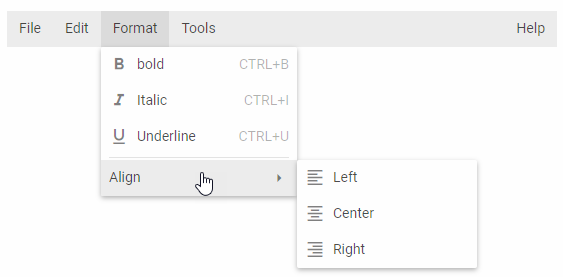
Check documentation for the latest version of dhtmlxSuite How to Start with Menu? DHTMLX Docs

How to Start with Menu?

General

The first steps that need to be taken for dhtmlxMenu's initialization are the following:

  • download dhtmlxMenu package from the server and place it in a folder;
  • create an "index.html" file;
  • place a full path to JS and CSS files of dhtmlxMenu into the <head> tag of html file.

If you use dhtmlxMenu standalone you need to include 2 files:

  • dhtmlxmenu.js
  • dhtmlxmenu.css
<!DOCTYPE html>
<html>
    <head>
        <link type="text/css" href="../codebase/dhtmlxmenu.css">
        <script src="../codebase/dhtmlxmenu.js"></script>
    </head>
    <body>
    ...
    </body>
</html>

If you use dhtmlxMenu as a part of "dhtmlxSuite" package you need to include 2 files:

  • dhtmlx.js
  • dhtmlx.css
<link rel="STYLESHEET" type="text/css" href="../codebase/dhtmlx.css">
<script src="../codebase/dhtmlx.js" type="text/javascript"></script>

Including source files from CDN

To include JS/CSS files of "dhtmlxSuite" package from CDN, you should set direct links to dhtmlx.js and dhtmlx.css files:

<link rel="stylesheet" href="http://cdn.dhtmlx.com/edge/dhtmlx.css" 
    type="text/css"> 
<script src="http://cdn.dhtmlx.com/edge/dhtmlx.js" 
    type="text/javascript"></script>

By setting links in this way you will get the latest version of dhtmlxSuite. To get some particular version, just specify the number of the required version in the link, like this:

<link rel="stylesheet" href="http://cdn.dhtmlx.com/5.0/dhtmlx.css" 
    type="text/css"> 
<script src="http://cdn.dhtmlx.com/5.0/dhtmlx.js" 
    type="text/javascript"></script>

From this point further steps the user should take are different for creating a usual menu and a contextual menu. In this article we'll describe the creation of usual menu. To get info about a contextual menu, read the appropriate section.

Usual Menu

The user needs to create an object where dhtmlxMenu will be placed later. In this example the object is a <div> element on page, which is placed in the <body> tag:

<div id="menuObj"></div>

The next step is to create a new dhtmlXMenuObject and place it after the <div> element (object) that we've just created:

var myMenu = new dhtmlXMenuObject("menuObj", skin);
// or
var parentObj = document.getElementById("menuObj");
var menu = new dhtmlXMenuObject(parentObj, skin);

The first parameter defines an HTML object on page to which the menu is attached (the main menu container in the code mentioned above). The second argument is optional, and it indicates the name of the skin chosen for the Menu. If this argument is not indicated, the component will be created with the default skin ("dhx_skyblue").

It should be noted that with the way of menu creating described above, the system will first clear the menu container (<div>), and then create the menu.

Initialization Recommendation

The recommended way of menu initialization is the following:

<html>
    <head>
        <script>
            var myMenu;
             function doOnLoad() {
                myMenu = new dhtmlXMenuObject("parentId");
            }
</script> ... </head> <body onload="doOnLoad();"> <div id="parentId"></div> ... </body> </html>

Detailed information on the initialization parameters is given in the article Object Constructor.

Setting Icons Path

In dhtmlxMenu 2.0-2.1 there was setImagePath method to set path for images needed to render menu. From 2.5 version this method hasn't been supported any more, but for the back compatibility it is presented in Menu.

If you have any links to it in your code, please remove them.

By using the setIconsPath method, the user is able to set path to the directory, where menu icons images are stored.

myMenu.setIconsPath("path/to/icons/");
Back to top