Editing cells
Entering content in a cell
Entering data manually
- Click a desired cell on a sheet.
- Type text, a number, a date, or time and press Enter.
Entering a formula
- Click the cell where you want the formula results to appear.
- Type the
=sign. - Create a formula. For this, you can use:
- constant numbers and calculation operators, for example
=3-2*5+12 - cell references and calculation operators, for example
=A1/A2 - built-in functions, for example
=MAX(C46;D46)
- constant numbers and calculation operators, for example
- Press Enter.
Lowercase letters in formulas are automatically converted to upper case.
Inserting a hyperlink into a cell
Adding a link
To insert a hyperlink into a cell, you can use one of the ways described below.
Using context menu
- Right-click the cell, choose Insert link
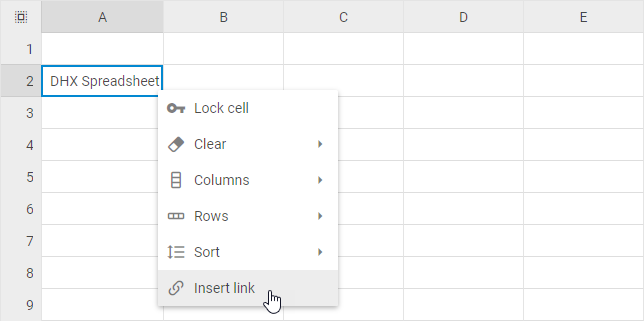
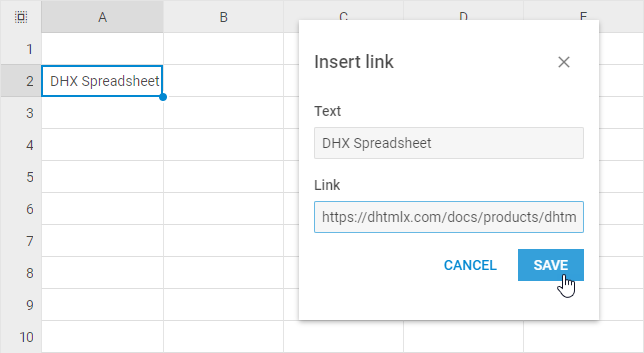
- In the window that appears, type the Text, the Link, and click Save
Using toolbar button
- Select the cell, click the Insert link button in the toolbar
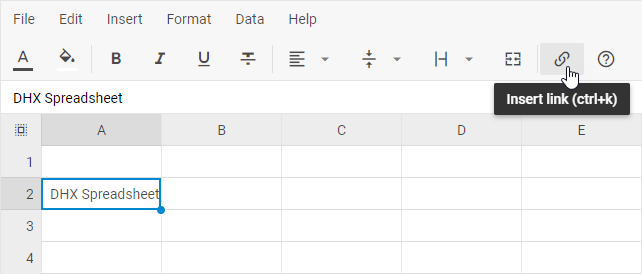
- In the window that appears, type the Text, the Link, and click Save
Using menu
- Select the cell, go to: Insert -> Insert link in the menu
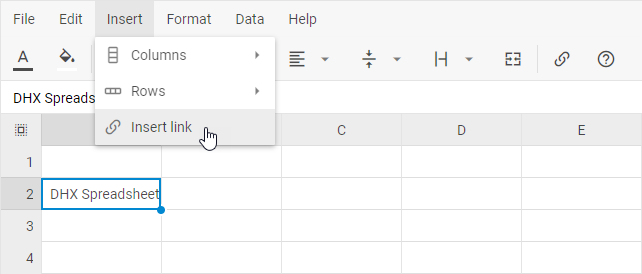
- In the window that appears, type the Text, the Link, and click Save.
Copying a link
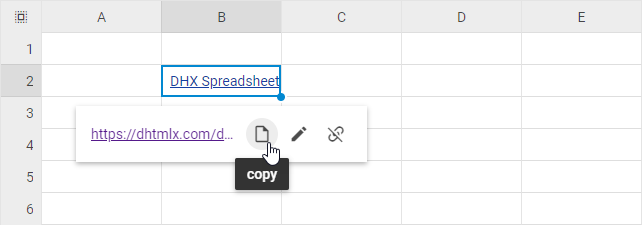
- Select the cell that contains the link you want to copy
- In the popup that appears, click the Copy icon
Editing a link
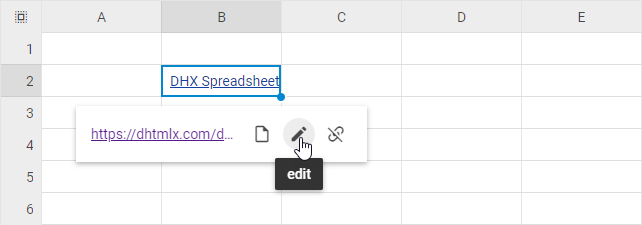
- Select the cell that contains the link you want to edit
- In the popup that appears, click the Edit icon
Removing a link
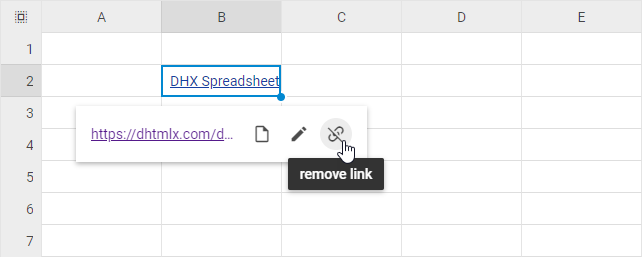
- Select the cell that contains the link you want to remove
- In the popup that appears, click the Remove link icon
Using drop-down lists in cells
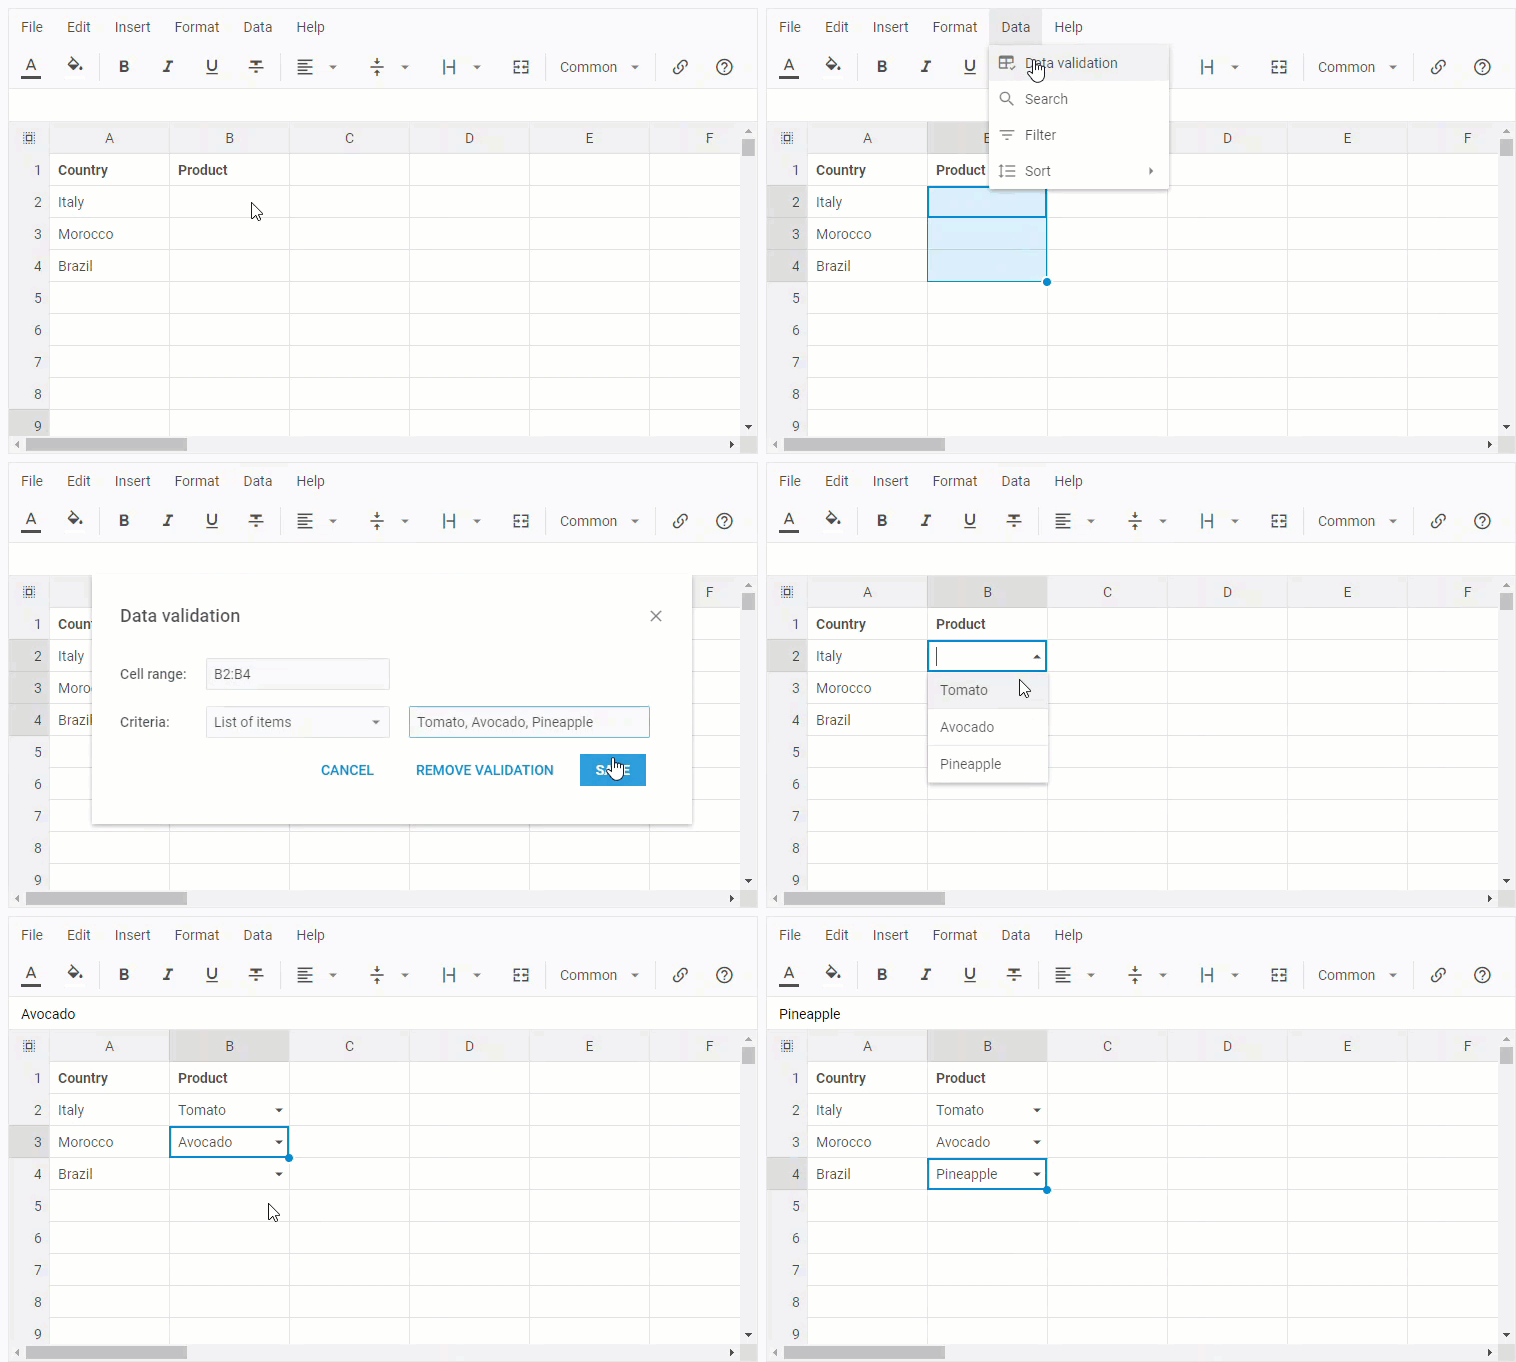
You can create a drop-down list in a cell to let users select the necessary item from the list.
Creating a drop-down list by typing it manually
-
Select a cell or a range of cells where you want to create the list
-
Go to: Data -> Data validation in the menu
-
Choose the List of items criteria
-
Type the items you want to appear in the drop-down list
-
Press the Save button
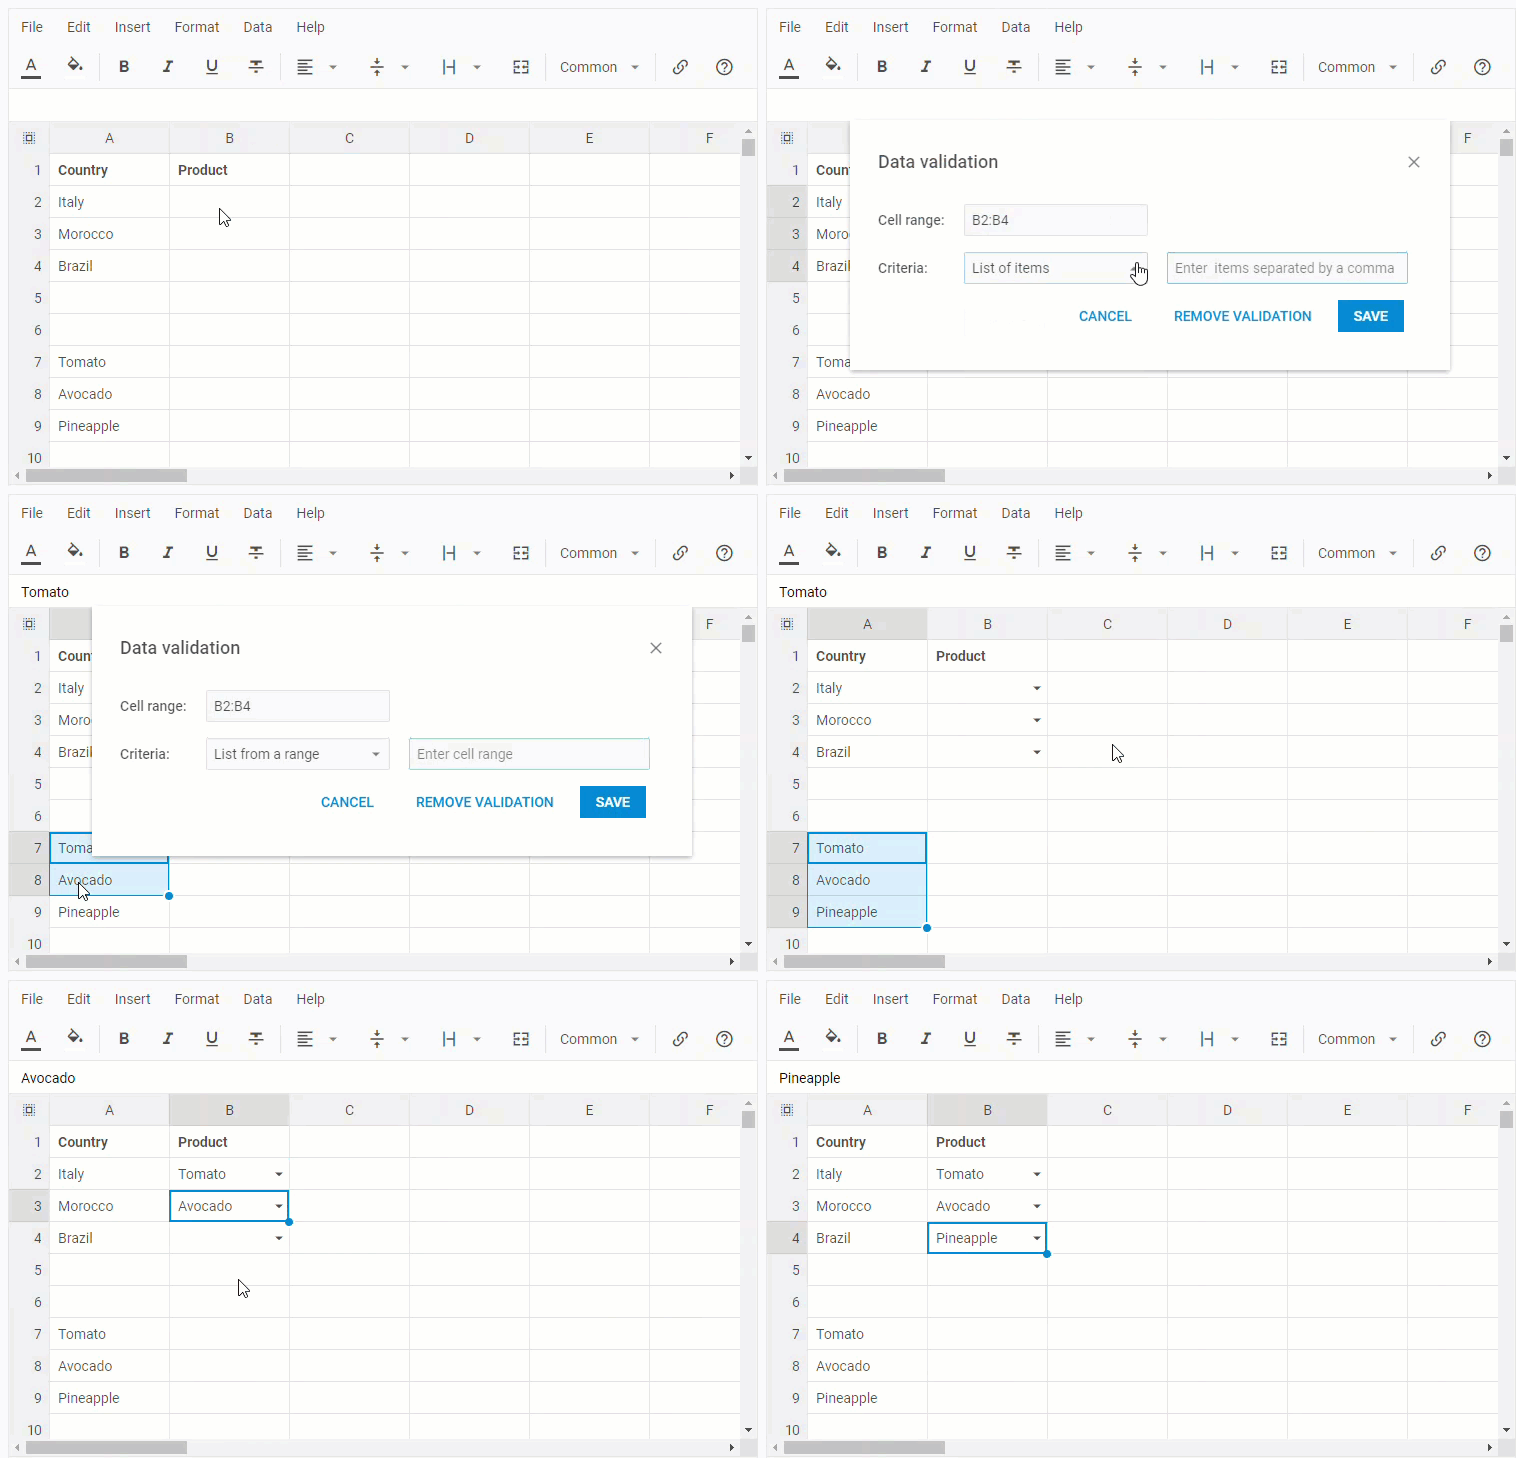
Creating a drop-down list by using a range
-
Type the items you want to appear in the drop-down list
-
Select a cell or a range of cells where you want to create the list
-
Go to: Data -> Data validation in the menu
-
Choose the List from a range criteria
-
Select your list range
-
Press the Save button
Removing validation from a cell
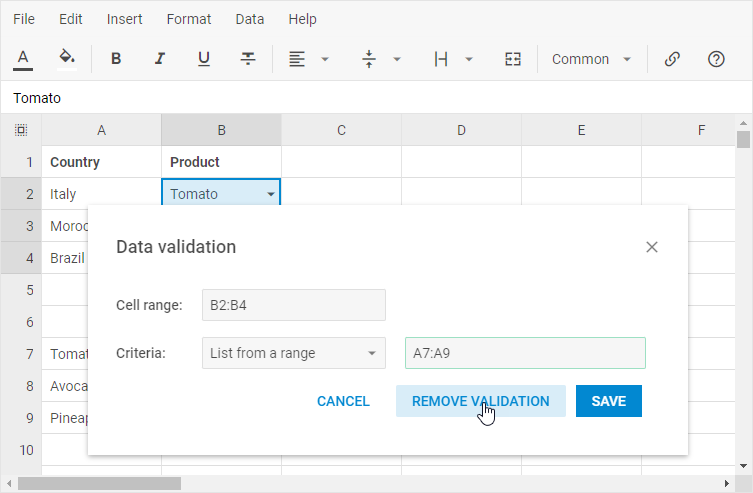
You can stop using a drop-down list in a cell. To do that:
- Select the necessary cell or a range of cells from which you want to remove a drop-down list
- Go to: Data -> Data validation in the menu
- Select the Remove validation option
Entering the same data in several cells
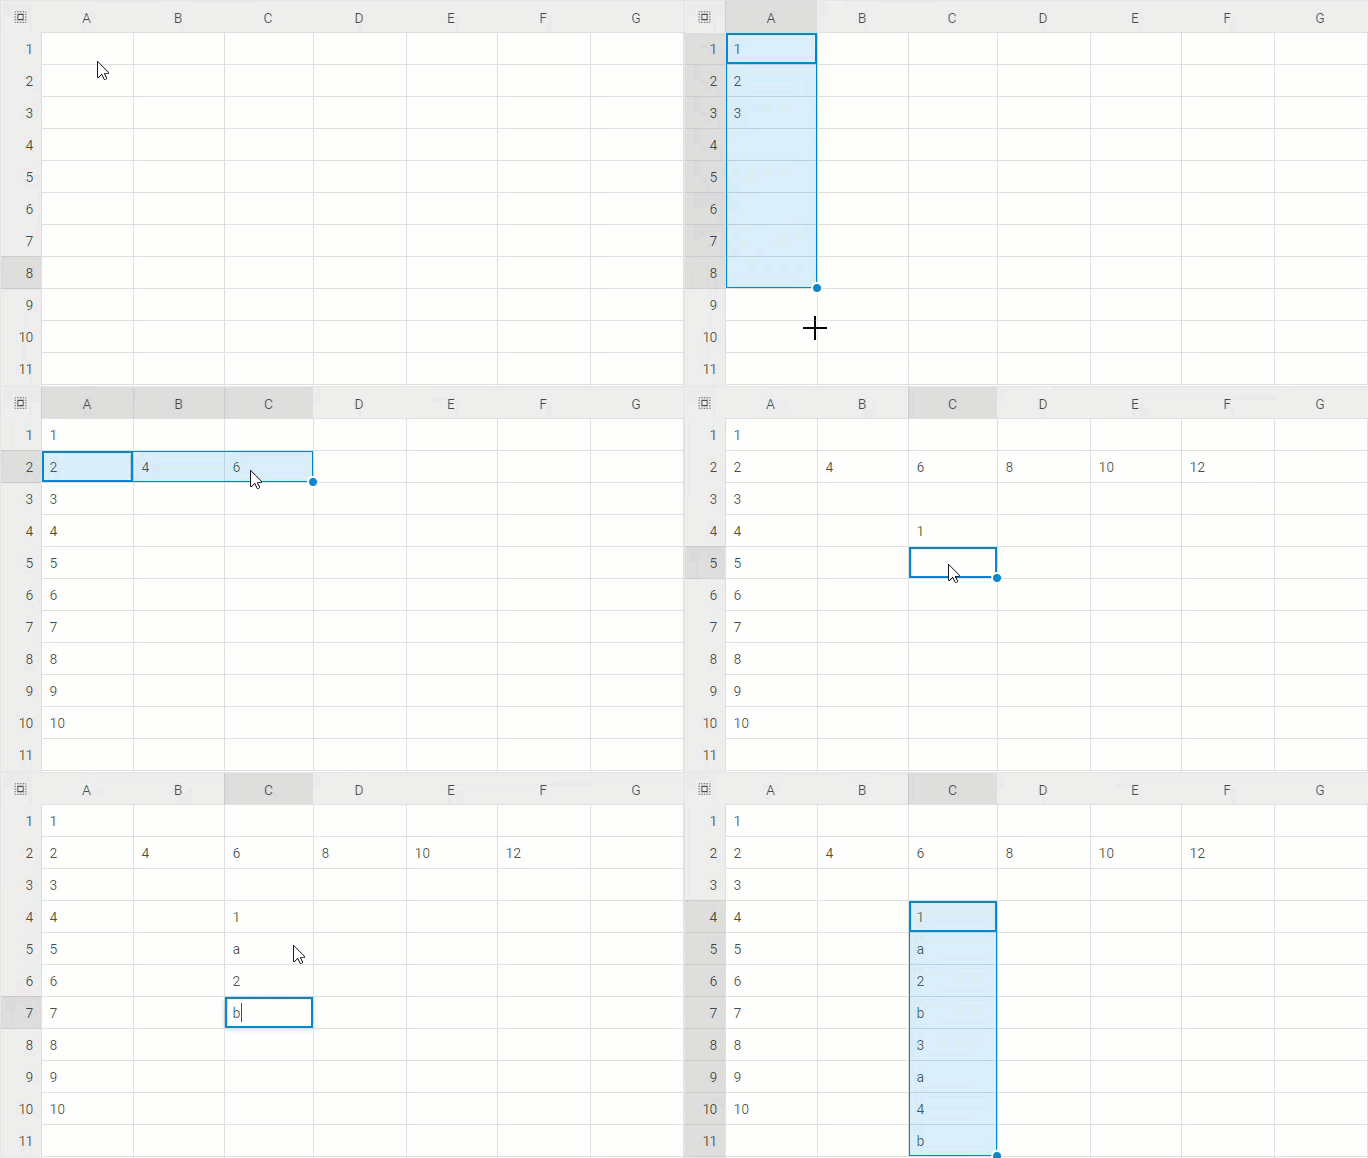
You can enter the same data into several cells by using the Fill Handle to automatically fill data in worksheet cells. See the details below.
Auto filling cells with content
You can automatically fill cells with data. This is how it works:
1. Select a cell(s) the data of which will be used as a basis for filling more cells.
2. Type data into the selected cell(s). Auto filling works in several ways:
- copying the value
For example, to make a series 4,4,4,4..., type 4 in the first cell only.
- following the pattern
- to make a series 1, 2, 3, 4, 5, ... , type 1 and 2 into the first two cells.
- to make a series 1 ,3, 5, 7, 9, ... , type 1 and 3 into the first two cells.
- to make a series 2 ,4, 6, 8, 10, ... , type 2 and 4 into the first two cells.
- besides numbers, you can also use letters in a pattern, for example, to make a series like 1, a, 2, b, 3, a, 4, b, ..., type 1, a, 2, b into the first four cells.
3. Drag the Fill Handle
Locking cells
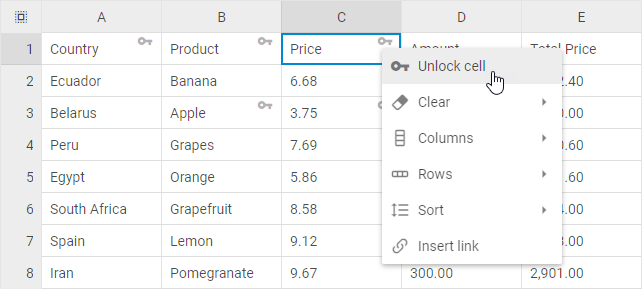
You can lock cells to protect their values from changes. When you lock a cell, it shows a gray "key" in the top right corner. Locked cells do not respond to any attempts to edit them.
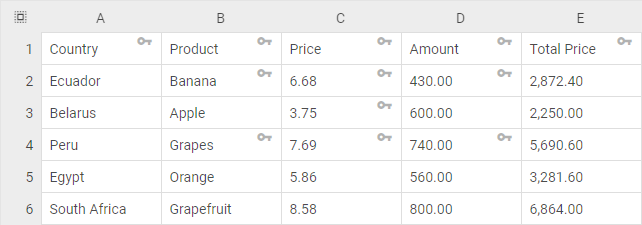
To lock or unlock a cell, use one of the ways described below:
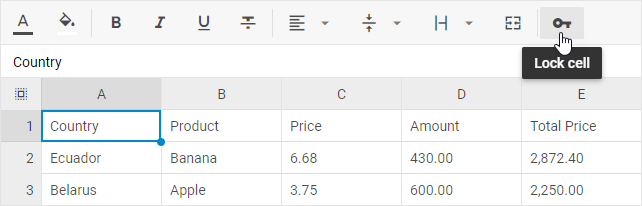
Lock cells via the toolbar button
- Select the cells you want to lock/unlock (they do not have to be adjacent).
- Click the Lock cell button in the toolbar.
Lock cells via the context menu
- Right-click a cell/a range of cells you want to lock/unlock.
- Choose the Lock/Unlock cell option in the appeared context menu.