Work with rows and columns
DHTMLX Spreadsheet lets you add and remove columns and rows, automatically fit the column width to the content, freeze and unfreeze columns and rows, and hide and show columns and rows using toolbar buttons, menu options, and cell context menu options.
Adding/removing rows and columns
Adding rows
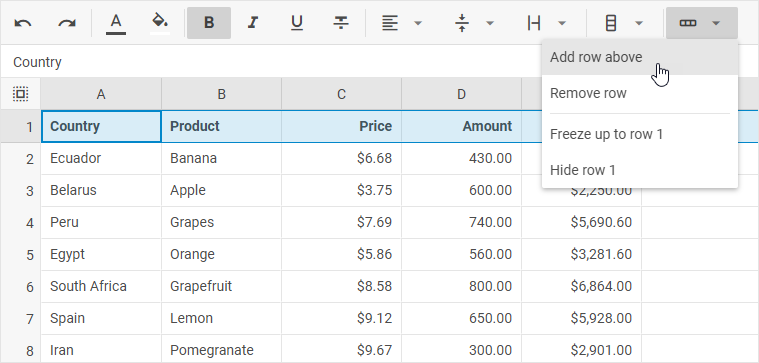
To add a new row, take the following steps:
1. Select a row (by clicking on its header) or a cell in the necessary row.
2. Choose one of the following actions:
- either click the Rows button in the toolbar and select the Add row above option
- or select the Insert menu option and choose Rows -> Add row above

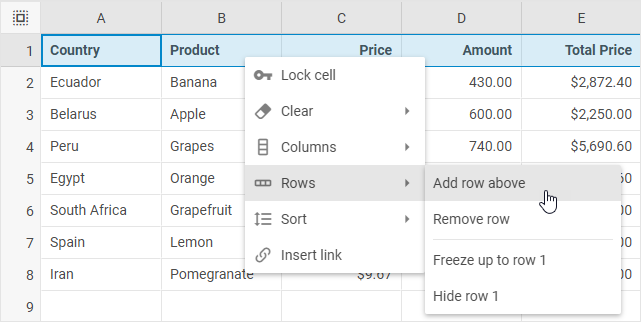
- or right-click the row or a cell in the row and choose Rows -> Add row above
Removing rows
To remove a row, take the following steps:
1. Select a row (by clicking on its header) or a cell in the row.
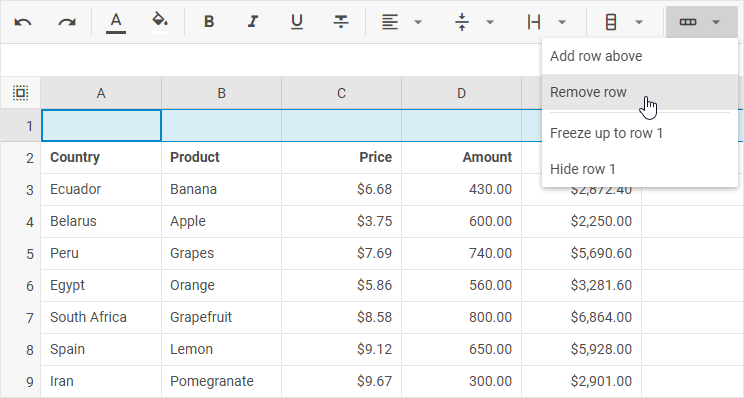
2. Choose one of the following actions:
- click the Rows button in the toolbar and select the Remove row option
- or select the Insert menu option and choose Rows -> Remove row
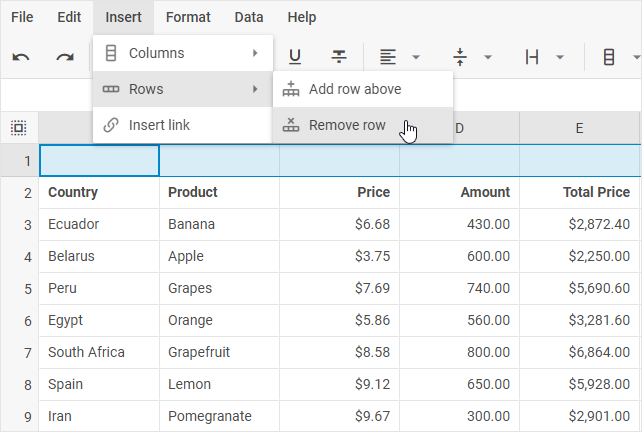
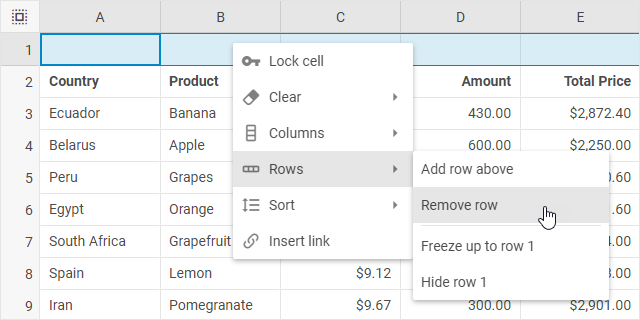
- or right-click the row or a cell in the row and choose Rows -> Remove row
To remove several rows at once: select the rows, right-click to call the context menu and choose Rows -> Remove rows [ids].
Adding columns
To add a new column, take the following steps:
1. Select a column (by clicking on its header) or a cell in the necessary column.
2. Choose one of the following actions:
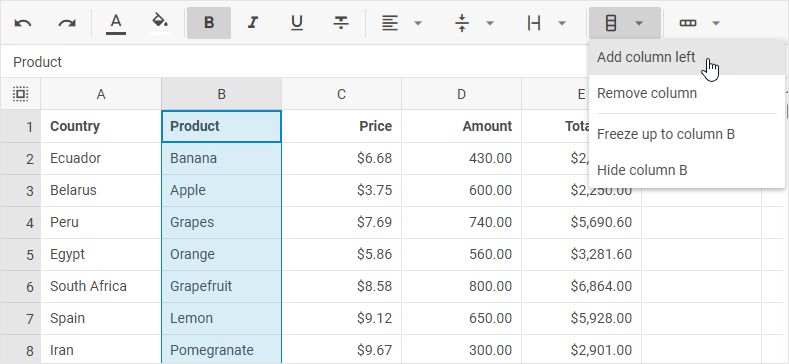
- either click the Columns button in the toolbar and select the Add column left option
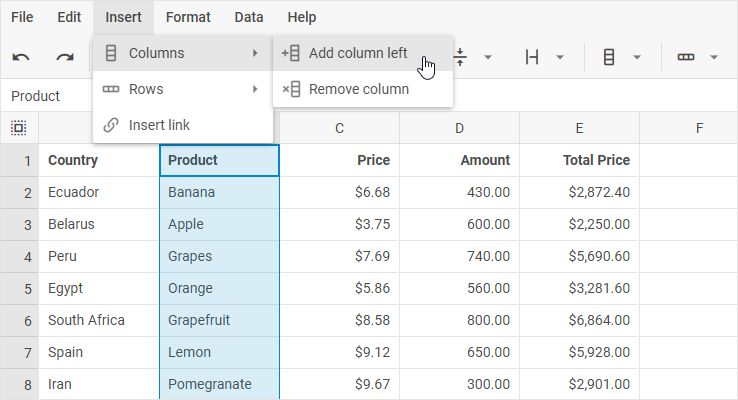
- or select the Insert menu option and choose Columns -> Add column left
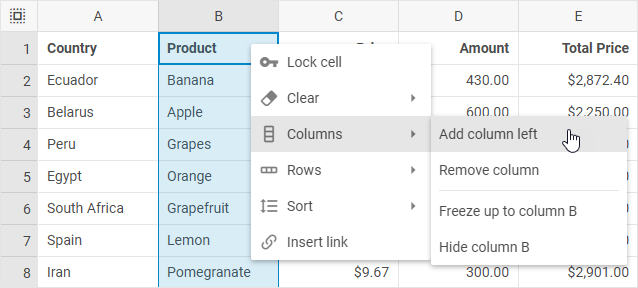
- or right-click the column or a cell in the column and choose Columns -> Add column left
Removing columns
To remove a column, take the following steps:
1. Select a column (by clicking on its header) or a cell in the column.
2. Choose one of the following actions:
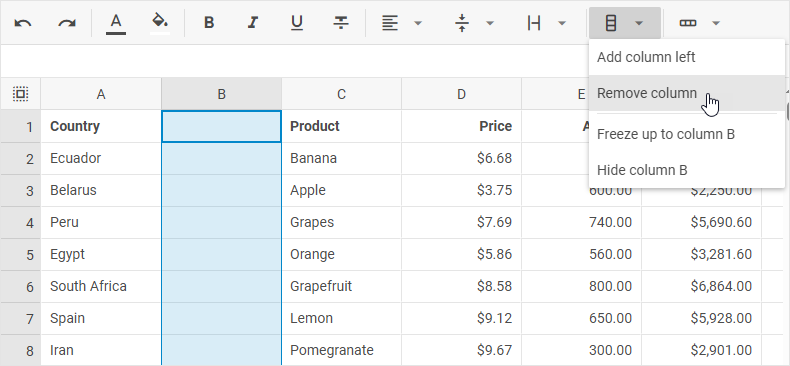
- click the Columns button in the toolbar and select the Remove column option
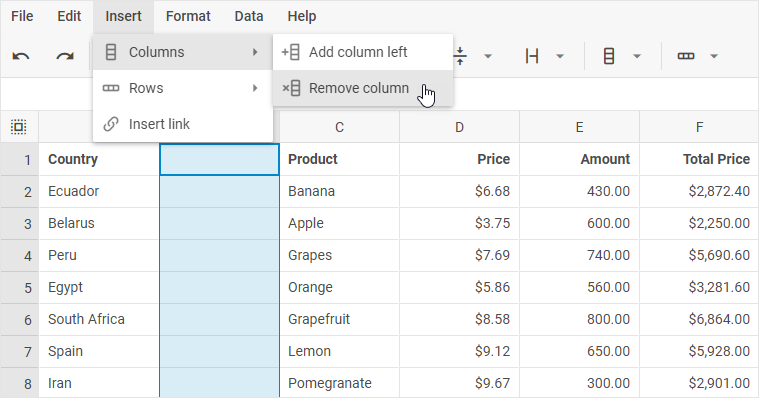
- or select the Insert menu option and choose Columns -> Remove column
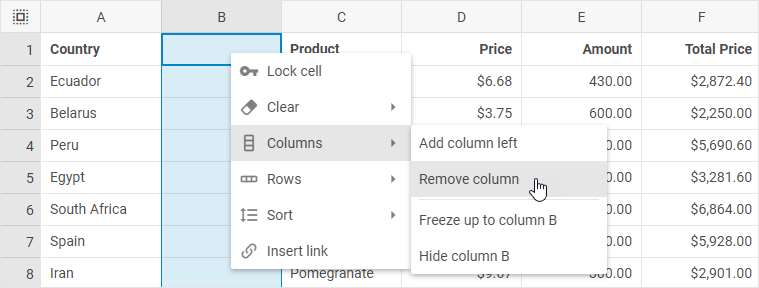
- or right-click the column or a cell in the column and choose Columns -> Remove column
To remove several columns at once: select the columns, right-click to call the context menu and choose Columns -> Remove columns [ids].
AutoFit column width
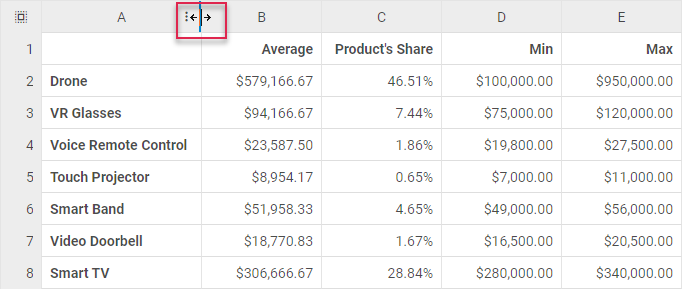
To change the column width so that it would automatically fit the longest content in the column, you can:
- double-click the resize cursor of a column in the table header
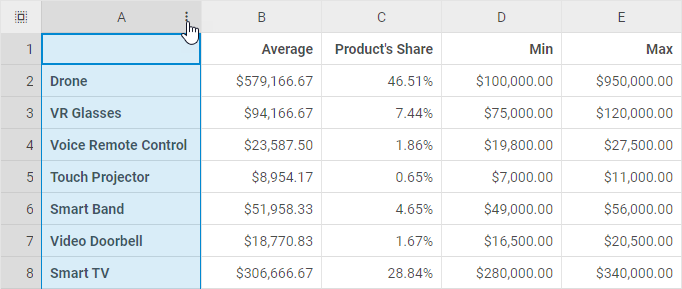
- or take the following steps:
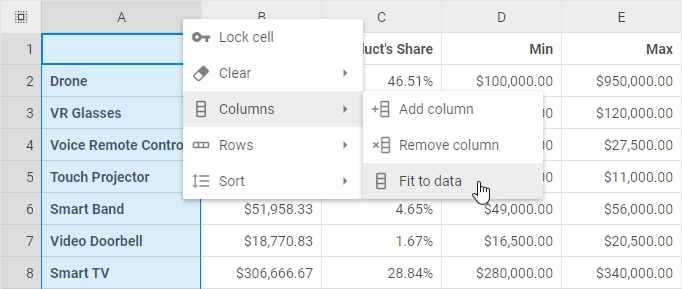
1. Left-click on a 3 dots icon of the column
2. Choose Columns -> Fit to data
Freezing/unfreezing rows and columns
Freezing rows
To freeze rows up to a certain row, take the following steps:
1. Select a row (by clicking on its header) or a cell in the necessary row.
2. Choose one of the following actions:
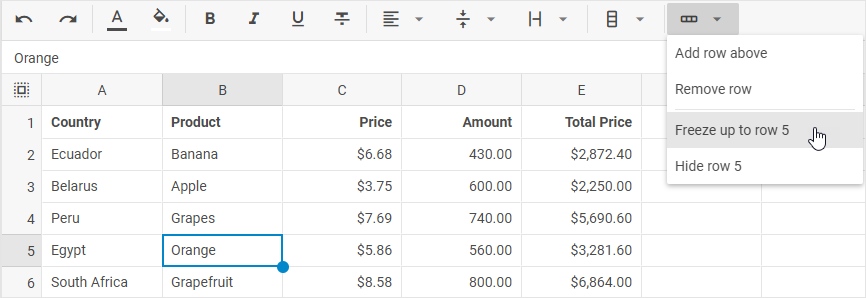
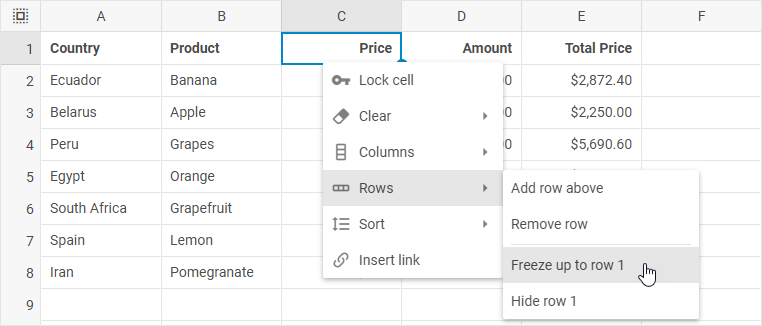
- either click the Rows button in the toolbar and select the Freeze up to row [id] option
- or select the Edit menu option and choose Freeze -> Freeze up to row [id]
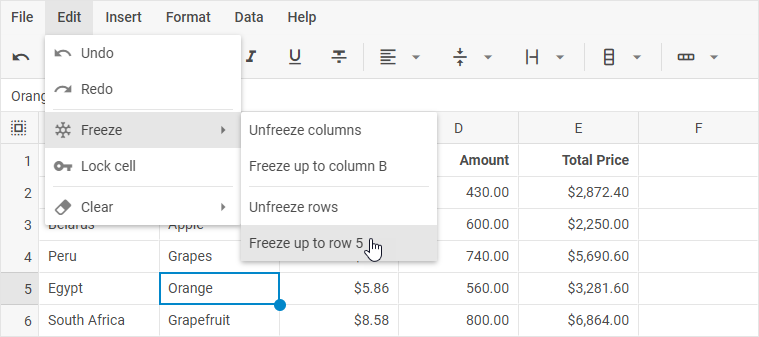
- or right-click a row or a cell in the row and choose Rows -> Freeze up to row [id]
Unfreezing rows
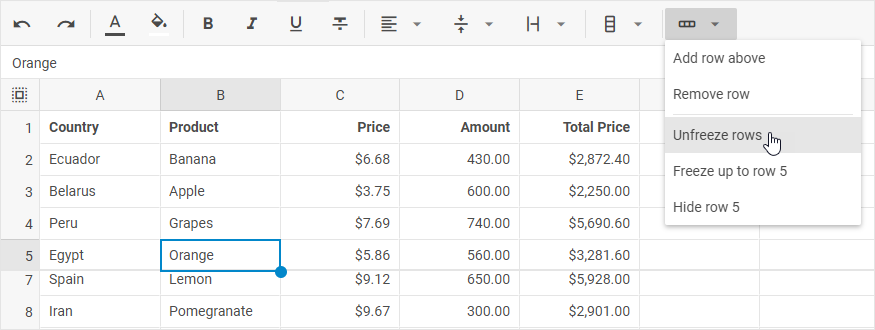
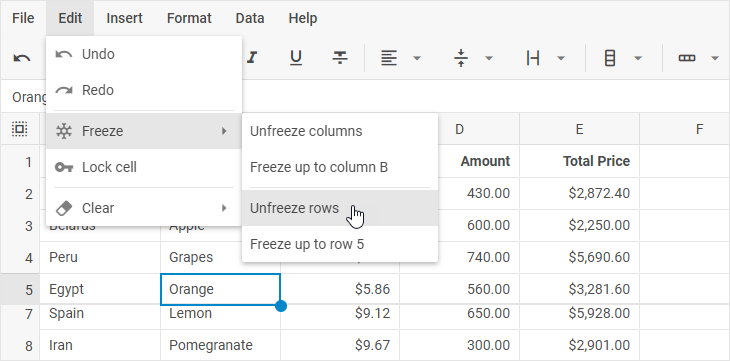
(In the images below rows are frozen up to the row 5)
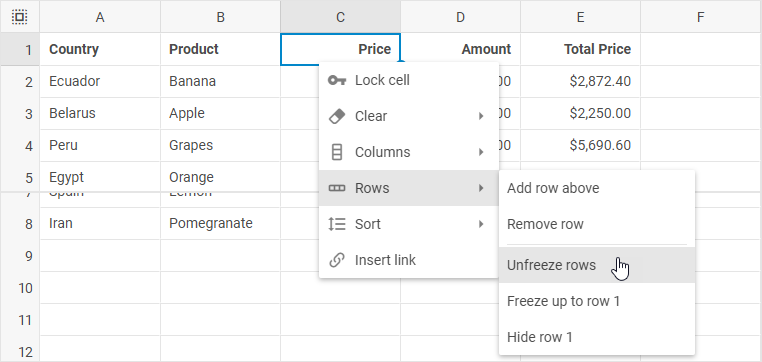
To unfreeze rows, take one of the following steps:
- either click the Rows button in the toolbar and select the Unfreeze rows option
- or select the Edit menu option and choose Freeze -> Unfreeze rows
- or right-click any cell and choose Rows -> Unfreeze rows
Freezing columns
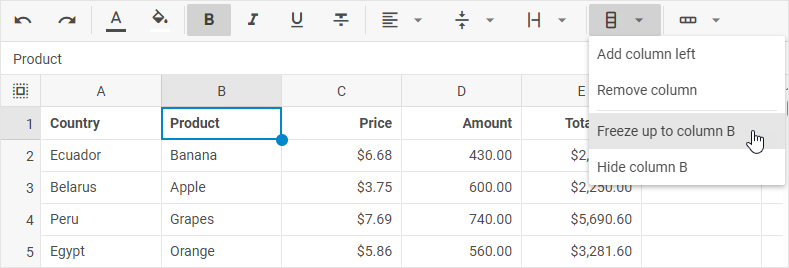
To freeze columns up to a certain column, take the following steps:
1. Select a column (by clicking on its header) or a cell in the necessary column.
2. Choose one of the following actions:
- either click the Columns button in the toolbar and select the Freeze up to column [id] option
- or select the Edit menu option and choose Freeze -> Freeze up to column [id]
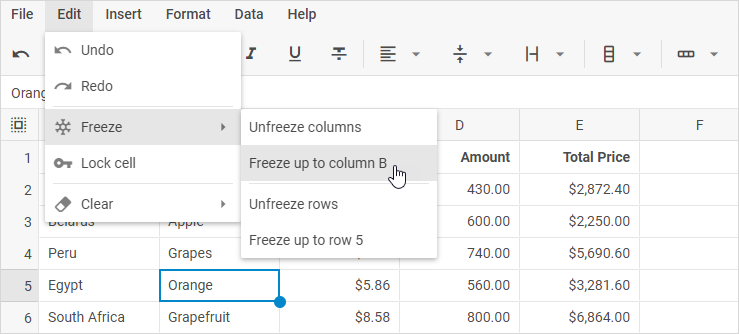
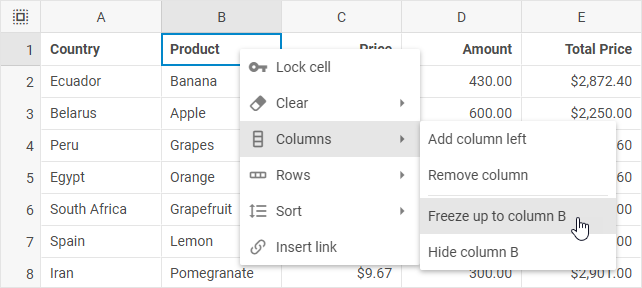
- or right-click a column or a cell in the column and choose Columns -> Freeze up to column [id]
Unfreezing columns
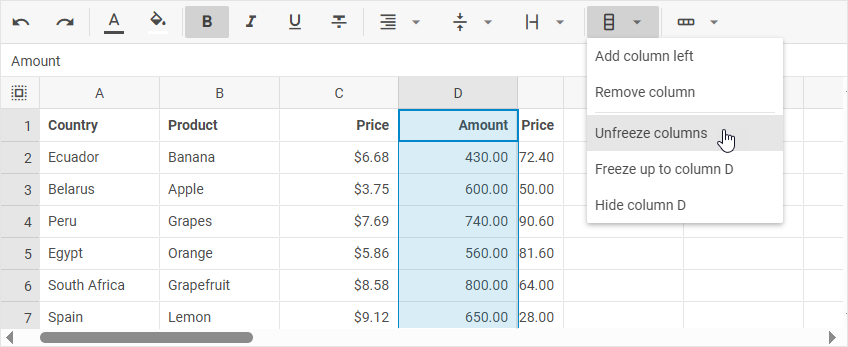
(In the images below columns are frozen up to the column D)
To unfreeze columns, take one of the following steps:
- either click the Columns button in the toolbar and select the Unfreeze columns option
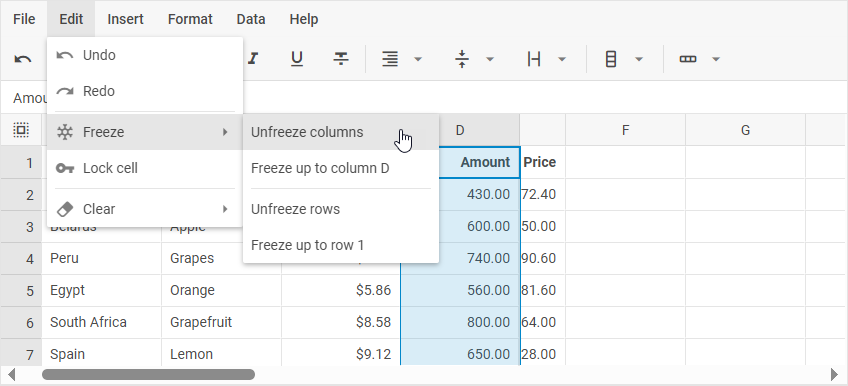
- or select the Edit menu option and choose Freeze -> Unfreeze columns
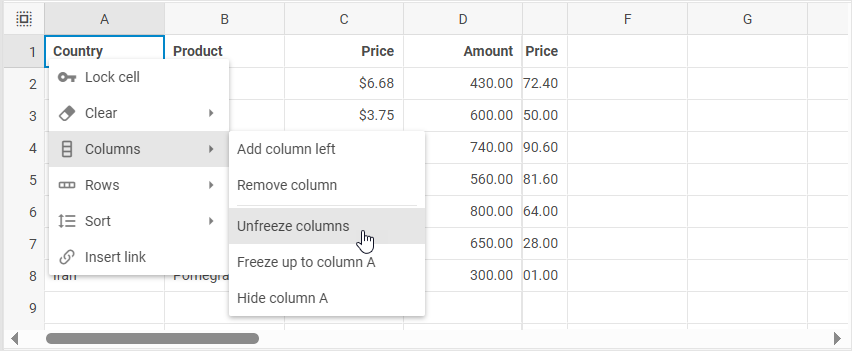
- or right-click any cell and choose Columns -> Unfreeze columns
Hiding/showing rows and columns
Hiding rows
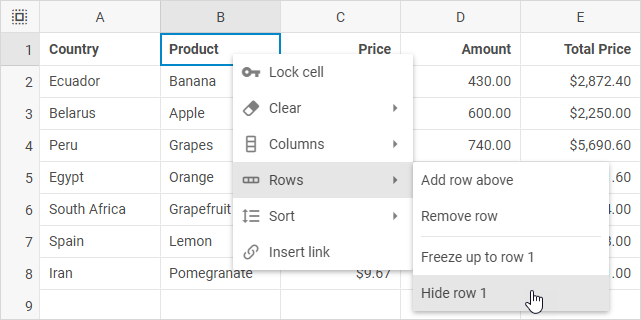
To hide a row, take the following steps:
1. Select a row (by clicking on its header) or a cell in the necessary row.
2. Choose one of the following actions:
- either click the Rows button in the toolbar and select the Hide row(s) [id] option
- or right-click a row or a cell in the row and choose Rows -> Hide row(s) [id]
Showing rows
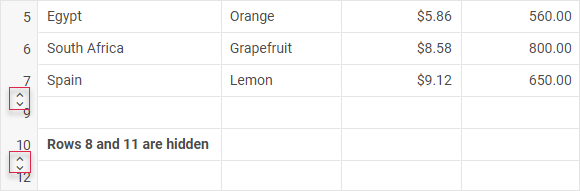
To show hidden rows, take one of the following steps:
- either click the "arrows" icon that appears in the rows header instead of the hidden row/rows
(In the image below the rows 8 and 11 are hidden)
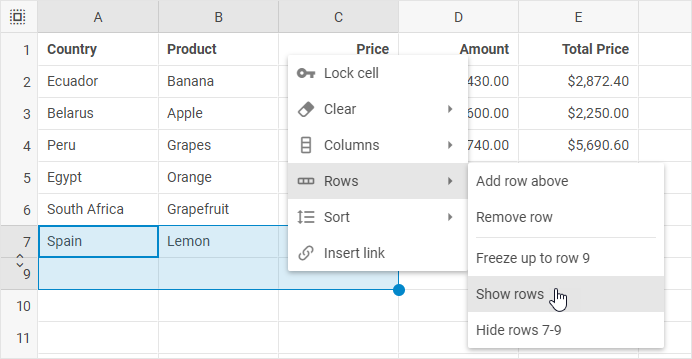
- or select rows or several cells so that the hidden rows were included into the selection, right-click to call the context menu and choose Rows -> Show rows
(In the image below the row 8 is hidden)
Hiding columns
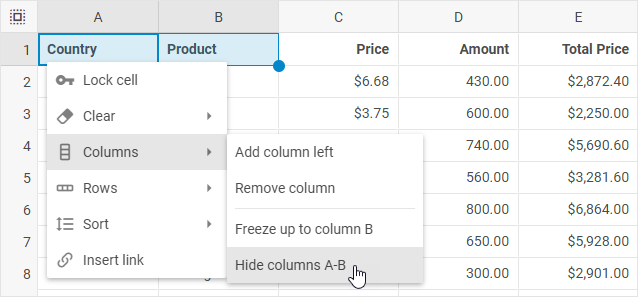
To hide a column, take the following steps:
1. Select a column (by clicking on its header) or a cell in the necessary column.
2. Choose one of the following actions:
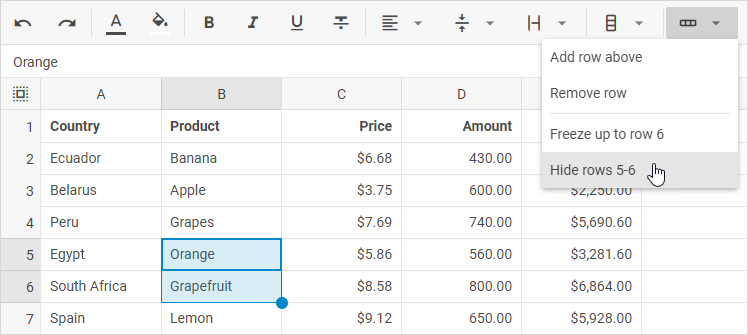
- either click the Columns button in the toolbar and select the Hide column(s) [id] option
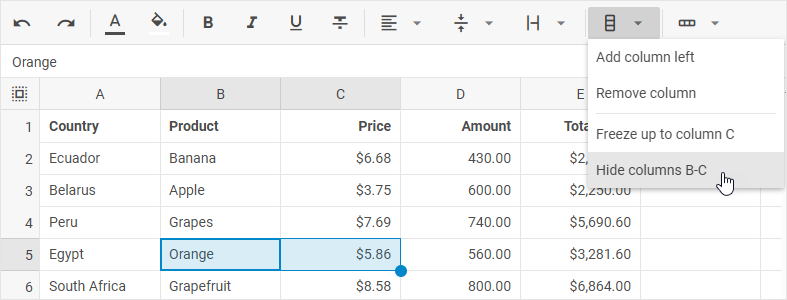
- or right-click a column or a cell in the column and choose Columns -> Hide column(s) [id]
Showing columns
To show hidden columns, take one of the following steps:
- either click the "arrows" icon that appears in the columns header instead of the hidden column/columns
(In the image below the columns C and E are hidden)

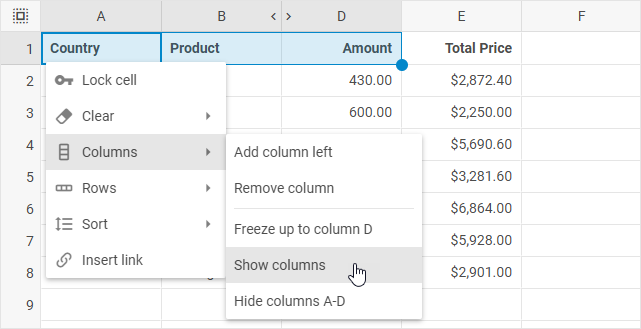
- or select columns or several cells so that the hidden columns were included into the selection, right-click to call the context menu and choose Columns -> Show columns
(In the image below the column C is hidden)