Integration with Vue
Make sure you are familiar with basic Vue concepts and patterns. For a refresher, see the Vue 3 documentation.
DHTMLX RichText works with Vue. For a complete code example, see the GitHub demo.
Create a project
Install Node.js before creating a new project.
Create a Vue project with the official scaffolding tool:
npm create vue@latest
The command installs and runs create-vue. When the scaffolder prompts for a project name, use my-vue-richtext-app. For details, see the Vue.js Quick Start.
Install dependencies
Switch to the app directory:
cd my-vue-richtext-app
Install dependencies and start the dev server with a package manager.
For yarn, run:
yarn
yarn dev
For npm, run:
npm install
npm run dev
The app runs on localhost (for example, http://localhost:3000).
Create RichText
Stop the app and install the RichText package.
Step 1. Install the package
Download the trial RichText package and follow the steps in the README file. The trial license is valid for 30 days.
Step 2. Create the component
Create a Vue component to add RichText to the application. In the src/components/ directory, create a new file named Richtext.vue.
Import source files
Open Richtext.vue and import the RichText source files.
For the PRO version installed from a local folder, use:
<script>
import { Richtext } from 'dhx-richtext-package';
import 'dhx-richtext-package/dist/richtext.css';
</script>
For the trial version, use:
<script>
import { Richtext } from '@dhx/trial-richtext';
import '@dhx/trial-richtext/dist/richtext.css';
</script>
This tutorial uses the trial version of RichText.
Set the container and initialize RichText
Set a container element for RichText and initialize the component with the Richtext constructor inside mounted(). Call the destructor() method inside unmounted() to remove RichText:
<script>
import { Richtext } from "@dhx/trial-richtext";
import "@dhx/trial-richtext/dist/richtext.css";

export default {
    mounted() {
        // initialize the RichText component
        this.editor = new Richtext(this.$refs.richtext_container, {});
    },

    unmounted() {
        this.editor.destructor(); // destroy RichText
    }
};
</script>

<template>
    <div class="component_container">
        <div ref="richtext_container" class="widget"></div>
    </div>
</template>
Add styles
Add the styles for RichText and its container to the main CSS file of the project:
/* base page styles */
html,
body,
#app { /* use the #app root container */
    height: 100%;
    padding: 0;
    margin: 0;
}

/* RichText container */
.component_container {
    height: 100%;
    margin: 0 auto;
}

/* RichText widget */
.widget {
    height: calc(100% - 56px);
}
Load data
Provide data for RichText. Create the data.js file in the src/ directory:
export function getData() {
  const value = `
    <h2>RichText 2.0</h2>
    <p>Repository at <a href="https://git.webix.io/xbs/richtext">https://git.webix.io/xbs/richtext</a></p>
    <p><img src="https://placecats.com/500/300" style={{width: '500px', height: '300px'}}></p>`;
  return { value };
}
Open App.vue, import the data, and initialize it through the data() method. Pass the value to the <RichText/> component as a prop:
<script>
import RichText from "./components/Richtext.vue";
import { getData } from "./data";

export default {
    components: { RichText },
    data() {
        const { value } = getData();
        return { value };
    }
};
</script>

<template>
    <RichText :value="value" />
</template>
Open Richtext.vue and pass the prop value to the RichText configuration:
<script>
import { Richtext } from "@dhx/trial-richtext";
import "@dhx/trial-richtext/dist/richtext.css";

export default {
    props: ["value"],

    mounted() {
        this.editor = new Richtext(this.$refs.richtext_container, {
            value: this.value,
            // other configuration properties
        });
    },

    unmounted() {
        this.editor.destructor();
    }
};
</script>

<template>
    <div class="component_container">
        <div ref="richtext_container" class="widget"></div>
    </div>
</template>
Alternatively, call the setValue() method inside mounted() to load data into RichText:
<script>
import { Richtext } from "@dhx/trial-richtext";
import "@dhx/trial-richtext/dist/richtext.css";

export default {
    props: ["value"],

    mounted() {
        this.editor = new Richtext(this.$refs.richtext_container, {
            // other configuration properties
        });

        this.editor.setValue(this.value);
    },

    unmounted() {
        this.editor.destructor();
    }
};
</script>

<template>
    <div class="component_container">
        <div ref="richtext_container" class="widget"></div>
    </div>
</template>
The RichText component is ready to use. Vue renders the editor with data when the <RichText/> element mounts. For the full list of configuration options, see the RichText API overview.
Handle events
RichText fires events on user actions. Subscribe to events with the api.on() method to react to user input. See the full list of events.
Open Richtext.vue and update the mounted() hook. The example below logs a message on every print event:
<script>
// ...
export default {
    // ...
    mounted() {
        this.editor = new Richtext(this.$refs.richtext_container, {});

        this.editor.api.on("print", () => {
            console.log("The document is printing");
        });
    },

    unmounted() {
        this.editor.destructor();
    }
}
</script>

// ...
Start the app to see RichText render with data on the page.
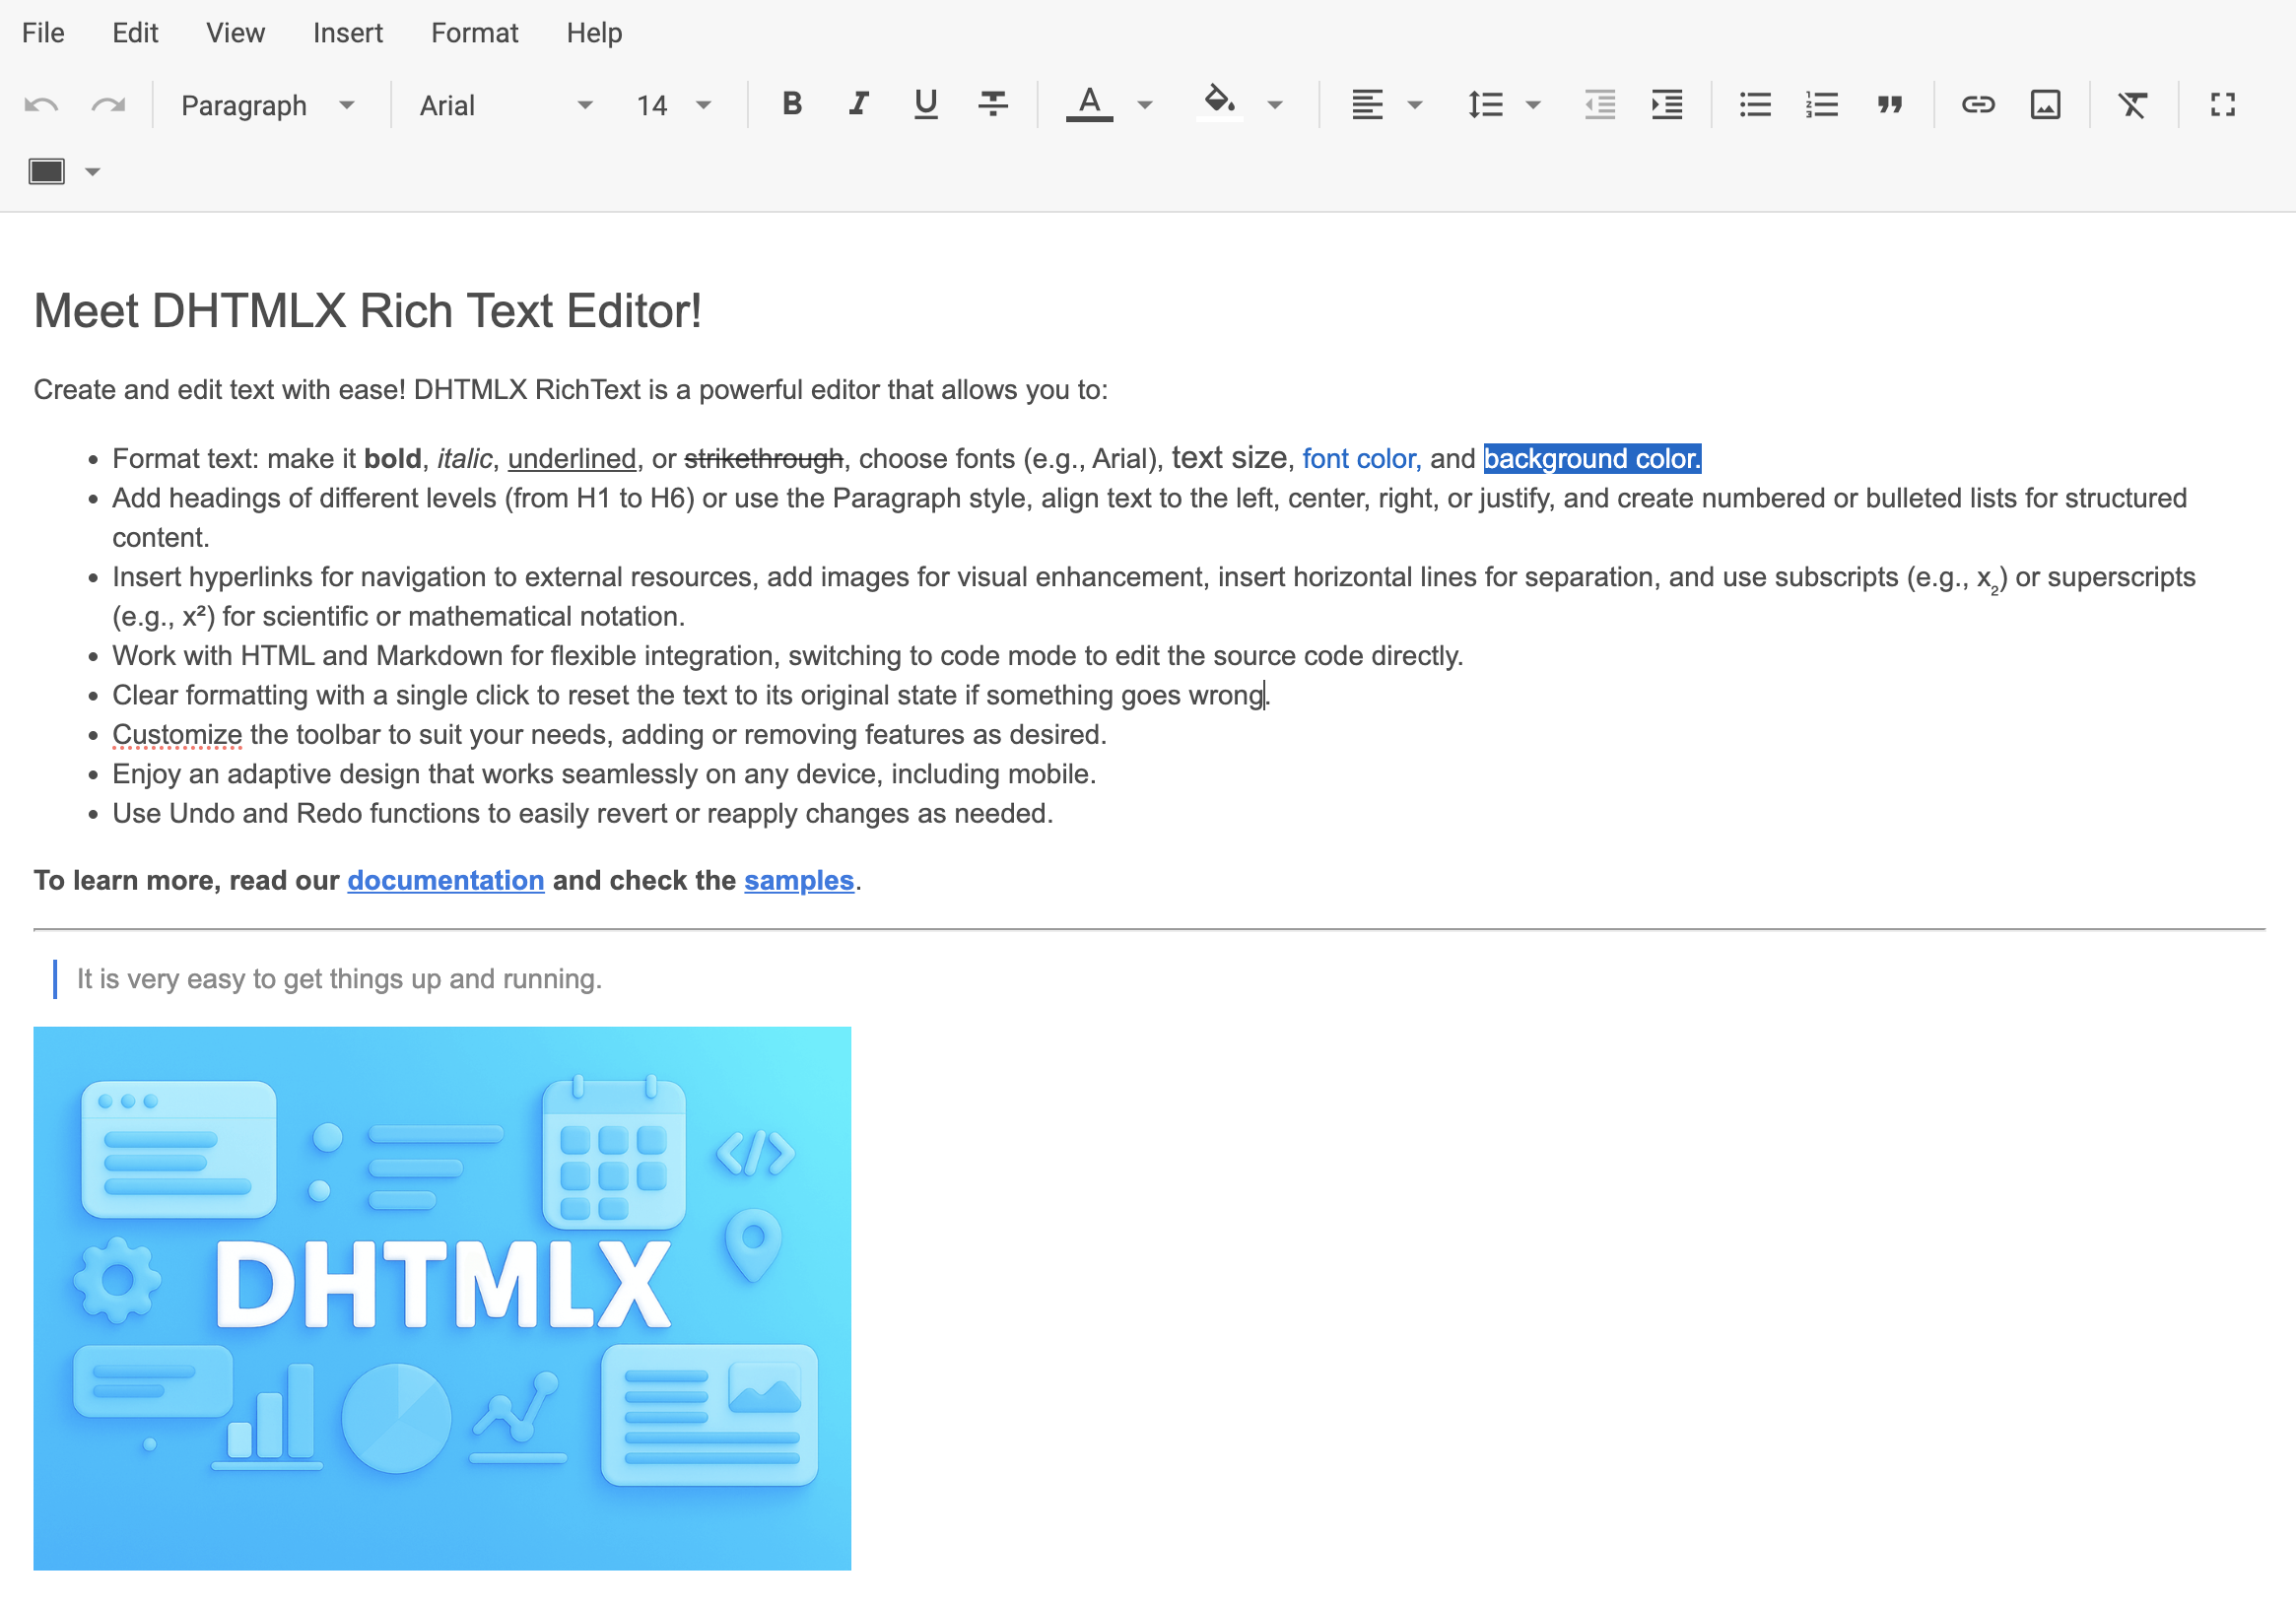
You now have a working RichText integration in Vue. Customize the code to fit your needs. A complete example is available on GitHub.