Live Updates Tutorial
This tutorial tells about using the live update mode to achieve synchronous data update in real time. It won't cover how to build a standard DHTMLX app but specificates how to optimize such an app to be updated instantly.
Before you begin
To start learning this tutorial you must have a complete running DHTMLX app. Let's assume it's a grid integrated with the server side, i.e. loads data from DB and saves the changes back.
Shortly, the code of this app can look like this:
myGrid = new dhtmlXGridObject('gridbox');
myGrid.setImagePath("../../../dhtmlxGrid/codebase/imgs/");
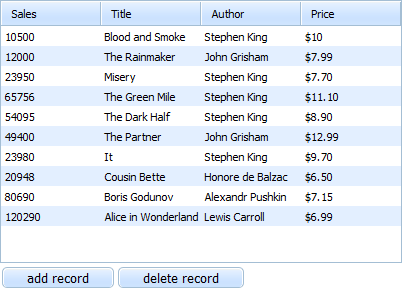
myGrid.setHeader("Sales,Book Title,Author,Price");
myGrid.setColTypes("ed,ed,ed,ed");
myGrid.init();
myGrid.load("data.php");
myDataProcessor = new dataProcessor("data.php");
myDataProcessor.init(myGrid);
Node.js
The first requirement of this mode - having Node.js installed and running.
The essential requirement of the live update mode is having the Node.js platform (event-driven I/O server-side JavaScript environment based on V8) installed and running. That's why as your first step you must set up Node.js (if you already have it installed, skip step 1).
Step 1. Set up Node.js
We won't go into detail on setting up the platform (as it really doesn't concern the main purpose of this tutorial) and confine ourselves to mentioning just the common technique:
- Install Node.js;
- Download the gridLive_nodejs.zip package. The package is used for all components, not only for dhtmlxGrid (download link);
- Unzip the package and copy the nodejs folder into the root directory of your web server.
- Execute in the command line: node nodejs/server.js.
You can read more information on this topic on the respective sites, e.g. here - http://nodejs.org.
'Live Update' DHTMLX Library
The second requirement of the mode is to have dataProcessor initialized.
The live update mode is provided by the DHTMLX library of the same name. Therefore, to activate the mode you should include the necessary code files of the library to the app and call the appropriate API.
Step 2. Include Additional Files
To work with the live update mode, 2 additional files must be included.
<script src="codebase/live_updates.js" type="text/javascript" charset="utf-8"></script>
<script type="text/javascript" src="http://localhost:8008/sync.js"></script>
They are:
- live_updates.js (a file located in the root_folder/dhtmlxDataProcessor/codebase folder. If you're using dhtmlxScheduler, please, download thedhtmlxSuite package and take the file from there);
- sync.js (a file located on the Node.js server). The file is automatically generated by the server code provided in the download package (the server.js file). If you want, you can change the name of the file by altering the following command:
var bayeux = new faye.NodeAdapter({mount: '/sync', timeout: 45 });
But beware, if you change the name of the file, you should also alter the client-side code in 2 places:
<script type="text/javascript" src="http://localhost:8008/sync.js"></script>
//and
dp.live_updates("http://localhost:8008/sync");
Step 3. Сall the Method live_updates()
The mode is enabled by calling the method live_updates() for the dataProcessor instance. That's why having dataProcessor initialized is an essential requirement. As a parameter, the method takes the path to JS server.
var dp = new dataProcessor("php/update.php");

dp.live_updates("http://localhost:8008/sync");
dp.init(mygrid);
What else
Congratulations! You’ve optimized your app and now users can see updates of each other without refreshing the page all the time, the app will be updated automatically.
What else can we offer you?
To explore the mode more deeply read this article - Live Update Mode.
Back to top