Step 3. Add a Menu
Then, we will add a menu to the layout. Something, like this:

We won't provide any handlers for the menu's items - just will place a menu on the page as a part of the overall interface.
To add a menu to the layout, we need to use the dhtmlxMenu component. The component takes data in the XML or JSON format and allows you to attach menu to the whole layout or an individual layout's cell.
dhtmlxMenu, as many other DHTMLX components, uses various images to be rendered on the page. There are 2 types of these images:
- Source images - mandatory images without which the component won't be rendered. In the "DHTMLX Suite " package, the source images of all the components reside in one folder called "imgs".
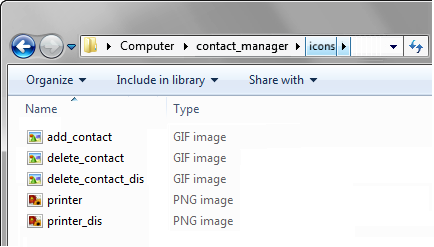
- Custom images - any images, icons you want to display in the component in addition to the mandatory ones (e.g. icons of the menu's items). The custom icons that we will use in our menu, you can find in the icons folder of the demo app.
To attach a menu to the layout:
- Call the attachMenu() method to attach a menu to the layout:
'index.html' file
dhtmlxEvent(window,"load",function(){
    var layout = new dhtmlXLayoutObject(document.body,"2U");
    layout.cells("a").setText("Contacts");
    layout.cells("b").setText("Contact Details");
    layout.cells("b").setWidth(500);
    var menu = layout.attachMenu();});
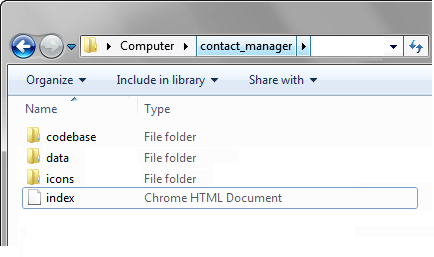
- Copy the "icons " folder from the demo app to the "contact_manager " folder.

- Call the setIconsPath() method, to set the path to the folder with the custom menu's icons:
menu.setIconsPath("icons/");
- Create a subfolder with the name "data " in the "contact_manager " folder.

- Create an XML file in the "data " folder and name it "menu.xml ".
- Open the "menu.xml " file and add the following code to it:
'menu.xml' file
<?xml version="1.0"?>
<menu>
    <item id="fTop" text="File"> //1st item
        <item id="ftNWin" text="New Window"/> //1 sub-item
        <item id="ftPrint" text="Print" enabled="false" imgdis="printer.png"/>
        <item id="fts0" type="separator"/>//'separator' splits level in 2 parts
        <item id="ftQuit" text="Quit"/>
    </item>
    <item id="eTop" text="Edit" enabled="false"/> //2nd item
    <item id="hTop" text="Help" enabled="false"/> //3rd item
</menu>
- Call the loadStruct() method to load items specified in the "menu.xml " file to the menu:
menu.loadStruct("data/menu.xml");
