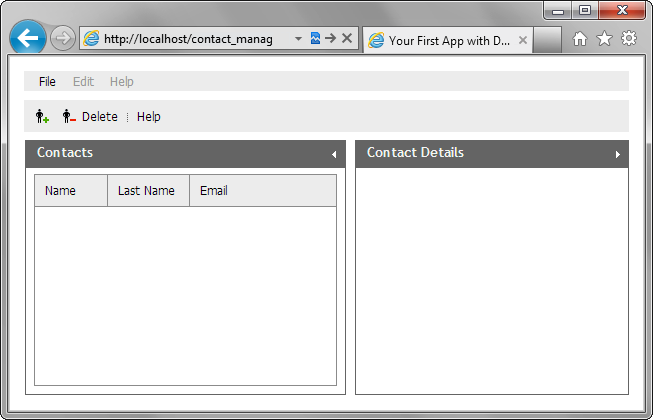
Step 5. Add a Grid
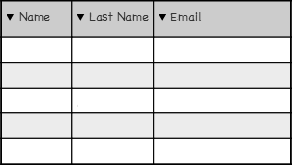
Let's move on and add a grid to the left panel of the layout - just a grid skeleton, without data (data will be loaded on the next step). We will present a grid with 3 columns: Name, Last name, Email.
The DHTMLX library provides the dhtmlxGrid component to present data in a tabular form on the page. The component supports 4 data types: XML, JSON, CSV, JSArray.
To put a grid to the layout's cell:
- Call the attachGrid() method to attach a grid to the left panel of the layout:
'index.html' file
 var layout = new dhtmlXLayoutObject(document.body,"2U");
 var contactsGrid = layout.cells("a").attachGrid();
- Add the code below to the "index.html " file to configure the grid:
'index.html' file
It's important to set ids for the columns cause we will need them to bind a form to the grid.contactsGrid.setHeader("Name,Last Name,Email"); //sets the headers of columns contactsGrid.setColumnIds("fname,lname,email"); //sets the columns' ids contactsGrid.setInitWidths("250,250,*"); //sets the initial widths of columns contactsGrid.setColAlign("left,left,left"); //sets the alignment of columns contactsGrid.setColTypes("ro,ro,ro"); //sets the types of columns contactsGrid.setColSorting("str,str,str"); //sets the sorting types of columns
Details on configuring the grid, read in the tutorial - First Steps with dhtmlxGrid.
- Call the init() method to finish initialization of the grid:
'index.html' file
contactsGrid.init();