Integration with Svelte
Familiarize yourself with the basic concepts and patterns of Svelte before reading this documentation. To refresh your knowledge, refer to the Svelte documentation.
DHTMLX To Do List is compatible with Svelte. The examples below show how to use them together. For a complete project, see the example on GitHub.
Create a project
Scaffold a new Svelte project and install dependencies.
Create a Svelte project in one of two ways:
- use SvelteKit
- use Svelte with Vite without SvelteKit
The example below scaffolds a Svelte + Vite project:
npm create vite@latest
Check the details in the related article.
Install dependencies
Name the project my-svelte-todo-app and go to the app directory:
cd my-svelte-todo-app
Install dependencies and start the dev server with a package manager.
Run the following commands with yarn:
yarn
yarn start
Run the following commands with npm:
npm install
npm run dev
The app runs on a localhost address (for example, http://localhost:3000).
Create the To Do List
Stop the app and install the To Do List package.
Step 1. Install the package
Download the trial To Do List package and follow the steps in the README file. The trial version is available for 30 days only.
Step 2. Create the component
Create a Svelte component to add the To Do List with the Toolbar into the application. In the src/ directory, add a new file named ToDo.svelte.
Import source files
Open ToDo.svelte and import the To Do List source files. Choose one of two import paths:
- PRO version installed from a local folder — import from
dhx-todolist-package - trial version — import from
@dhx/trial-todolist
The example below imports from the PRO package:
<script>
import { ToDo, Toolbar } from 'dhx-todolist-package';
import 'dhx-todolist-package/dist/todo.css';
</script>
Depending on the package, the source files can be minified. Import the CSS file as todo.min.css in that case.
The snippet below imports from the trial package:
<script>
import { ToDo, Toolbar } from '@dhx/trial-todolist';
import '@dhx/trial-todolist/dist/todo.css';
</script>
This tutorial uses the trial version.
Set containers and add the To Do List with Toolbar
To display the To Do List with the Toolbar on the page, create containers for both components and initialize them with the constructors. The example below binds the containers and initializes the components inside onMount:
<script>
import { onMount, onDestroy } from "svelte";
import { ToDo, Toolbar } from "@dhx/trial-todolist";
import "@dhx/trial-todolist/dist/todo.css";

let toolbar_container, todo_container; // initialize containers for To Do List and Toolbar
let todo, toolbar;

onMount(() => {
    // initialize the To Do List component
    todo = new ToDo(todo_container, {})

    // initialize the Toolbar component
    toolbar = new Toolbar(toolbar_container, {
        api: todo.api, // provide To Do List inner API
        // other configuration properties
    })
});

onDestroy(() => {
    todo.destructor(); // destruct To Do List
    toolbar.destructor(); // destruct Toolbar
});
</script>

<div class="component_container">
    <div bind:this={toolbar_container}></div>
    <div bind:this={todo_container} style="height: calc(100% - 56px);"></div>
</div>
Load data
Create the data.js file in the src/ directory and add data into it. The following example exports a getData() function that returns tasks, users, and projects:
export function getData() {
    const tasks = [
        {
            id: "temp://1652991560212",
            project: "introduction",
            text: "Greetings, everyone! \u{1F44B} \nI'm DHTMLX To Do List.",
            priority: 1
        },
        {
            id: "1652374122964",
            project: "introduction",
            text: "You can assign task performers and due dates using the menu.",
            assigned: ["user_4", "user_1", "user_2", "user_3"],
            due_date: "2033-03-08T21:00:00.000Z",
            priority: 2
        },
        // ...
    ];
    const users = [
        {
            id: "user_1",
            label: "Don Smith",
            avatar:
                "https://snippet.dhtmlx.com/codebase/data/common/img/02/avatar_61.jpg"
        },
        // ...
    ];
    const projects = [
        {
            id: "introduction",
            label: "Introduction to DHTMLX To Do List"
        },
        {
            id: "widgets",
            label: "Our widgets"
        }
    ];
    return { tasks, users, projects };
}
Open App.svelte, import the data, and pass it into the <ToDo/> component as props:
<script>
import ToDo from "./ToDo.svelte";
import { getData } from "./data.js";

const { users, tasks, projects } = getData();
</script>

<ToDo {users} {tasks} {projects} />
Go to ToDo.svelte and apply the passed props to the To Do List configuration object. The snippet below passes user, task, and project data through configuration:
<script>
import { onMount, onDestroy } from "svelte";
import { ToDo, Toolbar } from "@dhx/trial-todolist";
import "@dhx/trial-todolist/dist/todo.css";

export let users;
export let tasks;
export let projects;

let toolbar_container, todo_container;
let todo, toolbar;

onMount(() => {
    todo = new ToDo(todo_container, {
        users,
        tasks,
        projects,
        // other configuration properties
    })

    toolbar = new Toolbar(toolbar_container, {
        api: todo.api,
        // other configuration properties
    })
});

onDestroy(() => {
    todo.destructor();
    toolbar.destructor();
});
</script>

<div class="component_container">
    <div bind:this={toolbar_container}></div>
    <div bind:this={todo_container} style="height: calc(100% - 56px);"></div>
</div>
You can also use the parse() method inside onMount() to load data into the To Do List. The example below loads data with parse() after initialization:
<script>
import { onMount, onDestroy } from "svelte";
import { ToDo, Toolbar } from "@dhx/trial-todolist";
import "@dhx/trial-todolist/dist/todo.css";

export let users;
export let tasks;
export let projects;

let toolbar_container, todo_container;
let todo, toolbar;

onMount(() => {
    todo = new ToDo(todo_container, {})

    toolbar = new Toolbar(toolbar_container, {
        api: todo.api,
        // other configuration properties
    })

    todo.parse({ tasks, users, projects });
});

onDestroy(() => {
    todo.destructor();
    toolbar.destructor();
});
</script>

<div class="component_container">
    <div bind:this={toolbar_container}></div>
    <div bind:this={todo_container} style="height: calc(100% - 56px);"></div>
</div>
Each call to parse(data) replaces the current dataset.
The component now renders a populated To Do List. See the configuration overview for other available properties.
Handle events
Subscribe to events to react to user actions. See the full list of events.
Open ToDo.svelte and complete the onMount() method. The snippet below attaches a handler to the add-task event:
<script>
// ...
let todo;

onMount(() => {
    todo = new ToDo(todo_container, {});

    todo.api.on("add-task", (obj) => {
        console.log("A new task is added", obj);
    });
});

onDestroy(() => {
    todo.destructor();
});
</script>

// ...
Step 3. Add the To Do List into the app
To add the component into the app, open App.svelte and replace the default code with the following snippet:
<script>
import ToDo from "./ToDo.svelte";
import { getData } from "./data.js";

const { users, tasks, projects } = getData();
</script>

<ToDo {users} {tasks} {projects} />
Start the app — the To Do List renders with sample data:
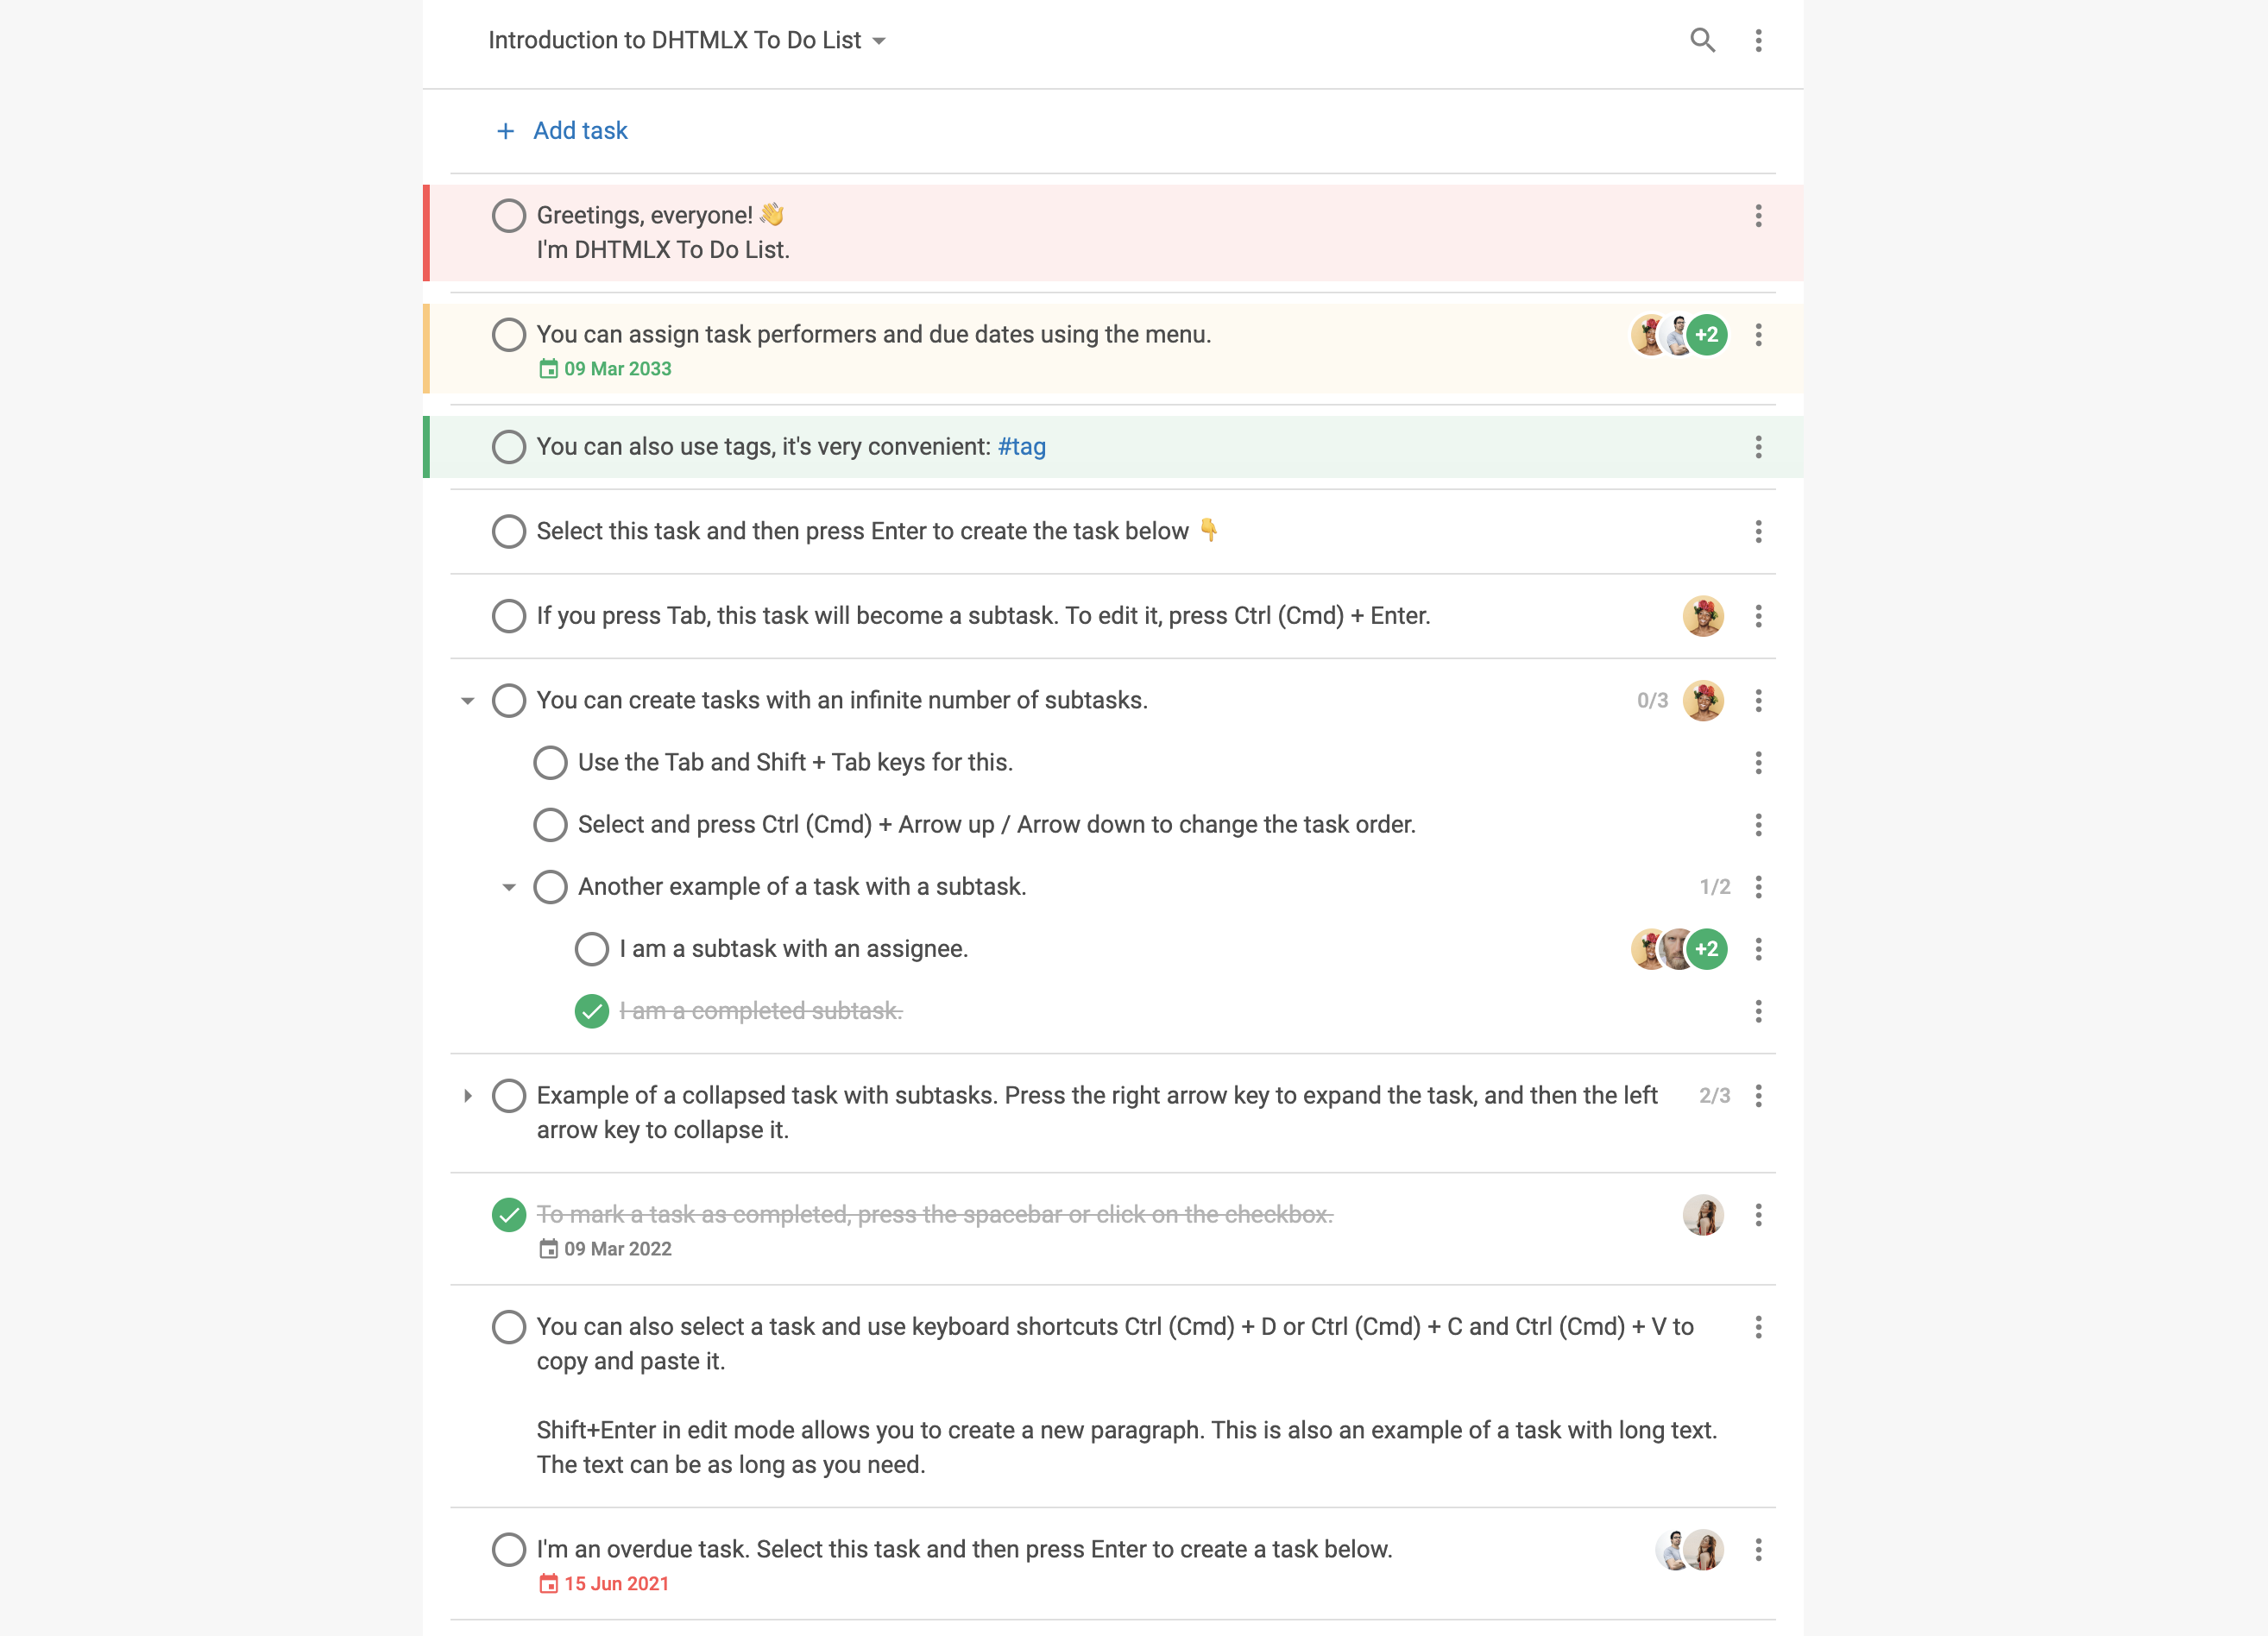
Find the complete project on GitHub.