DHTMLX To Do List overview
DHTMLX To Do List is an easy to use component for maintaining the tasks. The To Do List widget is a great planning tool that helps to achieve your goals and save the time. The component allows you to create infinite number of projects, add unlimited number of tasks and subtasks there, drag and drop tasks to change their order or priority level, and much more.
To Do List structure
The interface of the To Do List component consists of two parts: Toolbar and List.
Toolbar
Toolbar is a top part of the To Do List which includes:
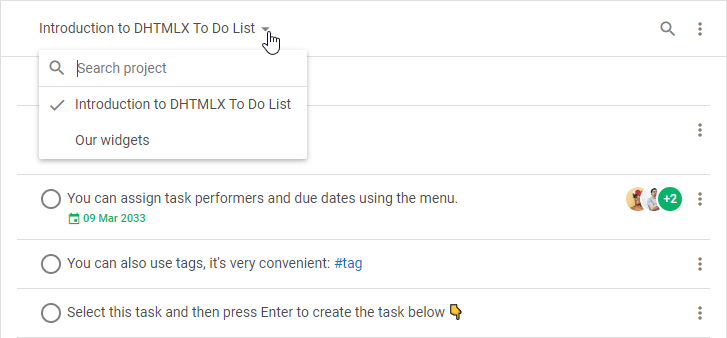
- a combo control for switching between projects, and searching for the necessary project
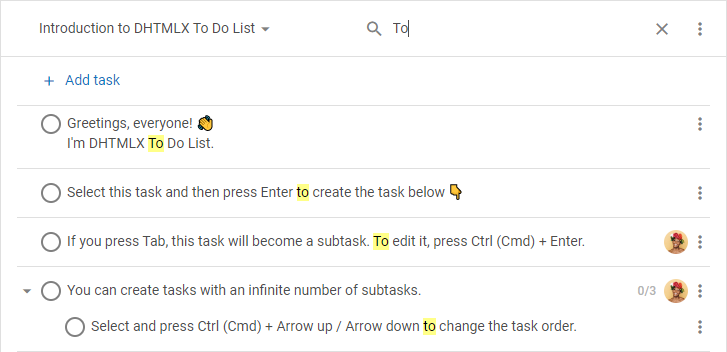
- a search bar for searching for the needed tasks
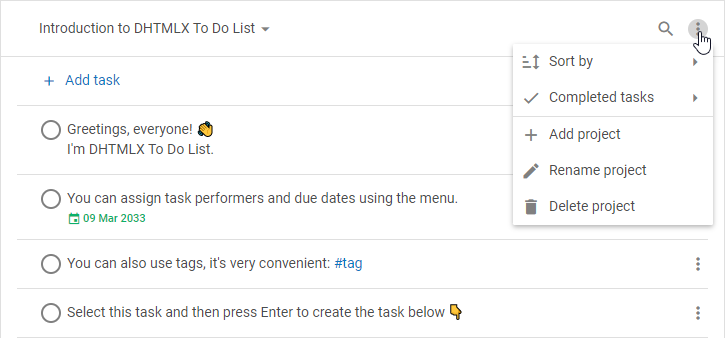
- a menu with a set of controls which allow you to:
- sort tasks in the ascending/descending order by the following criteria:
- by text
- by priority
- by due date
- by completion date
- by creation date
- by editing date
- hide/show completed tasks
- add a new project, rename or delete a currently active project
- sort tasks in the ascending/descending order by the following criteria:
You can change the toolbar structure by adding custom elements or changing the order of the built-in controls. Read more in the Configuration and Customization sections.
List
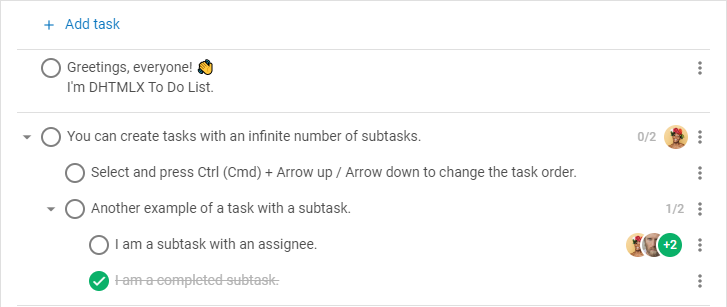
The list of tasks is the main part of the To Do List interface intended for adding new tasks, editing, or deleting the existing ones. You can easily configure the appearance of tasks. Read more in the Configuration section.
Selecting tasks
Selecting one task
- To select a task just click on it
- To move selection up to the previous task, press
Arrow Up - To move selection down to the next task, press
Arrow Down
Selecting multiple tasks
- To select multiple tasks, you can apply the following combinations:
- hold down the
Ctrl (Cmd)key and click each task you'd like to select - click on the first task, hold down the
Shiftkey, then click on the last task and releaseShift
- hold down the
- To select a task above/below the current one, press
Shift+Arrow Up/Arrow Down
You can select the tasks only if they are visible on the page, i.e. tasks which stay visible after the filtering process or after switching to the mode of hiding completed tasks.
Managing a task
You can manage the selected task both via the context menu or keyboard navigation.
Context menu
The context menu of a task contains a set of items and sub-items and looks like this:
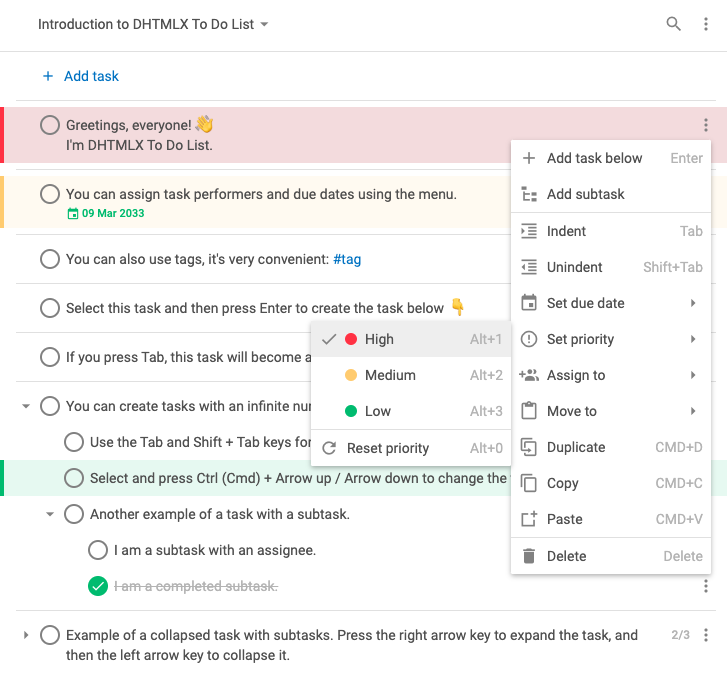
Adding a new task
- To add a new task into the beginning of the list, click on the + Add task button in the top navigation panel
- To add a new task under the necessary one, select the task and press
Enter - To add a subtask, add a new task under the selected one and press
Tab. UseShift + Tabto promote the nesting level of the task - To copy a task, click on it and press
Ctrl (Cmd) + C. To paste a task, pressCtrl (Cmd) + V - To copy a task down, click on it and press
Ctrl (Cmd) + D - To copy a task during drag-n-drop, press
Altwhile dragging-and-dropping it
Editing a task
- To edit a task, double-click on the task record in the list or press
Ctrl (Cmd) + Enter. Then, make the changes and pressEnter
It is possible to enter text, numbers, hashtags, dates. For more details, read Supported formats of data.
- To mark a task as complete/incomplete, click on the checkbox to the left of the task or press
Space - To collapse/expand a task with subtasks, click on the arrow icon to the left of the task or press
Arrow Left/Arrow Right - To set a due date for the task, open the task menu, select Set due date and choose the date via the date picker
- To change the due date of the task, click the due date shown in the task and choose the necessary date
- To assign people to the task, open the task menu, hover Assign to and select the necessary people in the dropdown list. To unassign people from the task, unselect them in the dropdown list
Moving a task
- To move a task withing a project, select the task and press
Ctrl (Cmd)+Arrow Up/Arrow Downor use drag-n-drop - To demote/promote the nesting level of a task, select the task and press
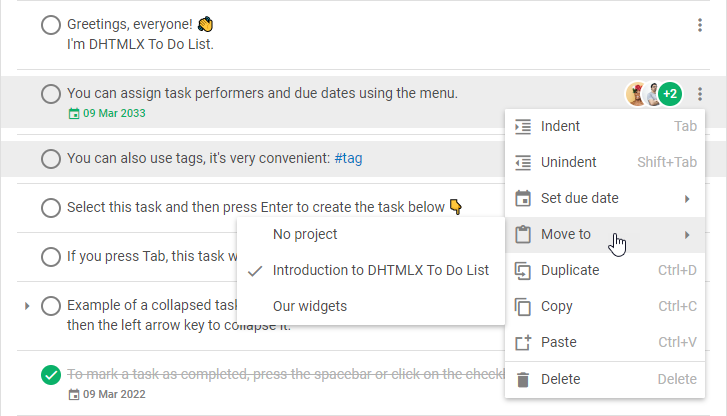
Tab/Shift + Tab - To move a task to another project, open the task menu, hover Move to and select the necessary project in the dropdown list
Deleting a task
- To delete a task, select it and press
Backspace/Delete
Prioritizing a task
- To set a High priority, select the task and press
Alt + 1 - To set a Medium priority, select the task and press
Alt + 2 - To set a Low priority, select the task and press
Alt + 3 - To set a Reset priority, select the task and press
Alt + 0
Managing multiple tasks
After you have selected multiple tasks, you can perform a set of operations over them, namely:
- to open a context menu for the selected tasks
- to delete tasks by pressing
Backspace/Delete - to copy tasks via
Ctrl (Cmd) + Cand paste them viaCtrl (Cmd) + V. The tasks which are selected in the chaotic order will be structured depending on the structure of the data - to copy tasks down via
Ctrl (Cmd) + D - to drag-n-drop tasks
- to copy tasks via pressing
Altwhile dragging-and-dropping them - to move tasks withing a project via
Ctrl (Cmd)+Arrow Up/Arrow Down - to demote/promote the nesting level of tasks via
Tab/Shift + Tab. Note, the nesting level of the tasks which are selected with their parent will not change - to mark tasks as complete/incomplete by pressing
Space
Read the keyboard shortcuts section for more detail
What's next
Once you have a short overview of To Do List you are ready to learn how to display the component on the page. Follow the directions given in the How to start article.