RTL (Right-to-left) Mode
You can enable the RTL mode for the scheduler via the rtl configuration option.
scheduler.config.rtl = true;
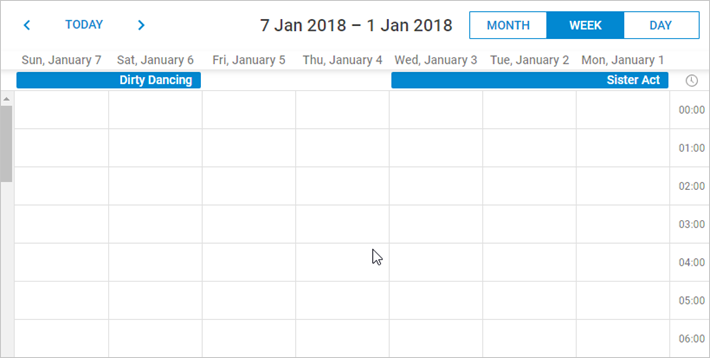
After implementing the RTL mode, all the elements of the calendar will be displayed automatically from right to left, except for the elements of the scheduler header.
To reorder the elements of the scheduler header you need to redefine CSS classes of the elements, as in:
<style type="text/css" >
    html, body{
        margin:0px;
        padding:0px;
        height:100%;
        overflow:hidden;
    }

      .dhx_cal_prev_button{right: auto !important; left: 16px !important;}
      .dhx_cal_next_button{right: auto !important; left: 148px !important;}
      .dhx_cal_today_button{right: auto !important; left: 57px !important;}
      .dhx_cal_tab[name="day_tab"]{left: auto !important; right: 16px !important;}
      .dhx_cal_tab[name="week_tab"]{left: auto !important; right: 103px !important;}
      .dhx_cal_tab[name="month_tab"]{left: auto !important; right: 192px !important;}
      .dhx_cal_container_rtl  .dhx_cal_tab {
        border-right-style: solid;
        border-right-width: 1px;
       }
</style>
RTL Mode Examples
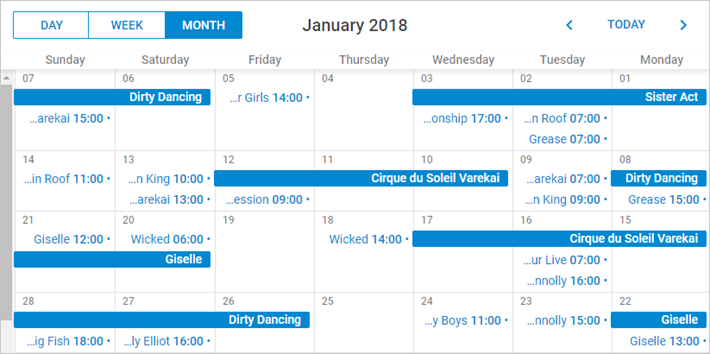
Month View in the RTL modeLet's see how the Month View looks in the RTL mode. The event's titles and details now are located on the right side of the event's box.
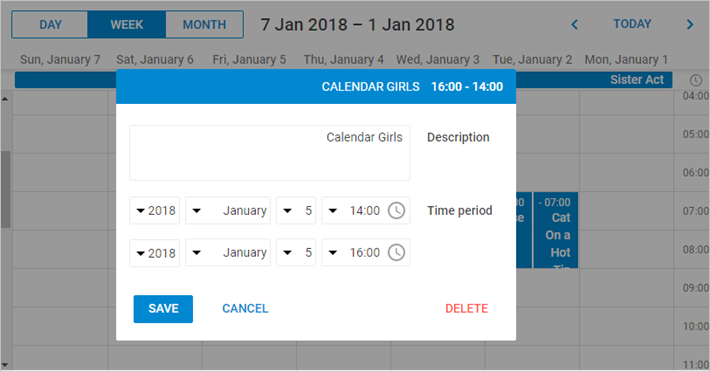
There is a good sample how the appearance of the window with event's details changes after applying the RTL mode in the image below.
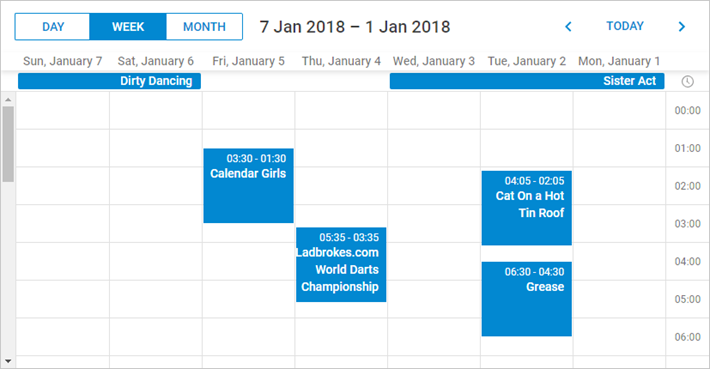
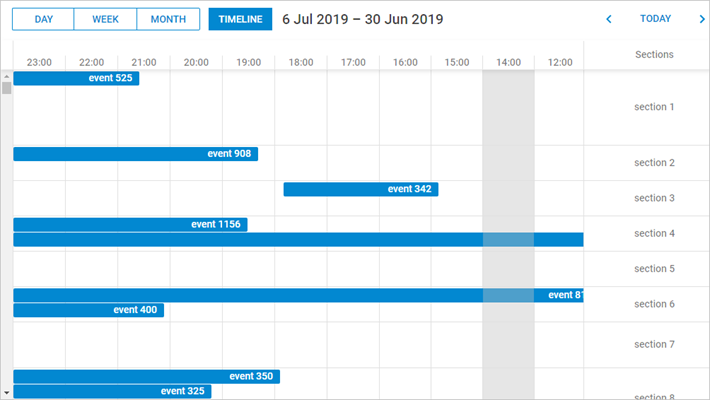
The RTL mode automatically arranges timelines in the scheduler from right to left.
Customizing elements in the RTL Mode
You can use additional CSS classes to apply unique styles to the separate elements in the RTL mode.
This is the list of the CSS classes that you can set:
- dhx_cal_container_rtl - applies styles to the whole container
- dhx_tooltip_rtl - applies styles to the tooltip
- dhx_quick_info_rtl - applies styles to the 'quick info' popup
- dhx_cal_light_rtl - applies styles to the lightbox
For instance:
.dhx_cal_container_rtl .dhx_cal_event{
    margin-right: -5px;
}
All events of the scheduler container are moved 5px to the right.