Integration with React
DHTMLX Booking integrates with React through a wrapper component that mounts the widget inside a ref'd container. This guide walks you through scaffolding a React project, installing Booking, and rendering the widget with data and events. For the complete reference implementation, see the React example on GitHub.
This guide assumes familiarity with React core concepts. For an introduction, see the React documentation.
Create a project
Scaffold a React app before adding the Booking integration. Use either Create React App or React with Vite.
The following command creates a new my-react-booking-app project with Create React App:
npx create-react-app my-react-booking-app
Install dependencies
Switch to the project directory.
The following command opens the newly created app folder:
cd my-react-booking-app
Install the dependencies and start the dev server with your package manager.
The following commands use yarn:
yarn
yarn start
The following commands use npm:
npm install
npm start
The app runs on a localhost, for example http://localhost:3000.
Add Booking to the app
Stop the dev server before installing the Booking package, then create a React component that wraps the widget.
Step 1. Install the package
Download the trial Booking package and follow the steps in the package README. The trial version stays active for 30 days.
Step 2. Create the Booking component
Create a Booking.jsx file in the src/ directory and complete the steps below to wire the widget.
Import the source files
Import the Booking class and stylesheet with the path that matches your distribution:
- dhx-booking-package — PRO version installed from a local folder
- @dhx/trial-booking — trial version
The following code snippet imports Booking from the PRO package:
import { Booking } from 'dhx-booking-package';
import 'dhx-booking-package/dist/booking.css';
If your PRO package ships minified assets, import the CSS file as booking.min.css.
The following code snippet imports Booking from the trial package:
import { Booking } from '@dhx/trial-booking';
import "@dhx/trial-booking/dist/booking.css";
This tutorial uses the trial version of Booking.
Set the container and initialize Booking
Declare a ref for the host container and instantiate Booking inside useEffect(). Return a cleanup function that calls destructor() to unmount the widget when React unmounts the component.
The following code snippet declares a Booking component with a ref'd container and lifecycle cleanup:
import { useEffect, useRef } from "react";
import { Booking } from "@dhx/trial-booking";
import "@dhx/trial-booking/dist/booking.css"; // import Booking styles

export default function BookingComponent(props) {
    let container = useRef(); // host container for Booking

    useEffect(() => {
        // create the Booking instance
        const booking = new Booking(container.current, {});

        return () => {
            booking.destructor(); // unmount Booking
        };
    }, []);

    return <div ref={container} className="widget"></div>;
}
Add the styles
Booking requires both the widget stylesheet (imported above) and a sized container. Set full height for the page and the widget container in the main CSS file of the project.
The following code snippet sets full height for the page and the Booking container:
/* page styles */
html,
body,
#root {
    height: 100%;
    padding: 0;
    margin: 0;
}

/* Booking container */
.widget {
    height: 100%;
}
Load data
To load card data into Booking, prepare a dataset matching the data property. For the full data format and loading scenarios, see the Loading data guide.
Create a data.js file in the src/ directory.
The following code snippet defines a getData() helper that returns a sample dataset:
export function getData() {
    function getDate(addDays, hoursValue = 0, minutesValue = 0) {
        const date = new Date();
        const secondsValue = 0; // round to minutes
        const msValue = 0;

        date.setDate(date.getDate() + addDays);
        date.setHours(hoursValue, minutesValue, secondsValue, msValue);

        return date.getTime();
    }

    return [
        {
            id: "ee828b5d-a034-420c-889b-978840015d6a",
            title: "Natalie Tyson",
            category: "Therapist",
            subtitle: "2 years of experience",
            details: "Cleveland Clinic\n9500 Euclid Ave",
            preview: "https://snippet.dhtmlx.com/codebase/data/booking/01/img/01.jpg",
            price: "$35",
            review: {
                stars: 4,
                count: 120
            },
            slots: [
                {
                    from: 9,
                    to: 20,
                    days: [1, 2, 3, 4, 5]
                },
                {
                    from: 10,
                    to: 18,
                    days: [6, 0]
                }
            ]
        },
        {
            id: "9b037564-77be-429f-b719-eebbe499027a",
            title: "Emma Johnson",
            category: "Cardiologist",
            subtitle: "2 years of experience",
            details: "Stanford Health Care\n1468 Madison Ave",
            preview: "https://snippet.dhtmlx.com/codebase/data/booking/01/img/03.jpg",
            price: "$25",
            review: {
                stars: 5,
                count: 10
            },
            slots: [
                {
                    from: 14,
                    to: 17,
                    size: 30,
                    gap: 10
                },
                {
                    from: 12,
                    to: 19,
                    size: 50,
                    gap: 20,
                    days: [2],
                    dates: [getDate(0)]
                },
                {
                    from: "18:30",
                    to: 20,
                    size: 20,
                    gap: 20,
                    days: [3, 4, 5]
                }
            ],
            usedSlots: [getDate(0, 12), getDate(0, 18)]
        },
        // ...
    ];
}
Open App.js, import the dataset, and pass the dataset to the <Booking/> component as a prop.
The following code snippet renders the Booking component with a data prop:
import Booking from "./Booking";
import { getData } from "./data";

function App() {
    const dataset = getData();
    return <Booking data={dataset} />;
}

export default App;
Open Booking.jsx and forward the data prop to the Booking configuration.
The following code snippet wires the prop into the Booking constructor:
import { useEffect, useRef } from "react";
import { Booking } from "@dhx/trial-booking";
import "@dhx/trial-booking/dist/booking.css";

export default function BookingComponent(props) {
    let container = useRef();

    useEffect(() => {
        const booking = new Booking(container.current, {
            data: props.data
            // other configuration properties
        });

        return () => {
            booking.destructor();
        }
    }, []);

    return <div ref={container} className="widget"></div>;
}
The Booking component now renders with the loaded data. To customize the widget further, pass extra configuration properties — see the full list in the Properties overview.
Handle events
A user action in the widget triggers an event. Subscribe to an event with booking.api.on(eventName, handler) to react to the action. For the full list of events, see the Events overview.
Open Booking.jsx and extend useEffect() with an event subscription.
The following code snippet logs the slot ID when a user selects a slot:
// ...
useEffect(() => {
    const booking = new Booking(container.current, {});

    // log the selected slot id
    booking.api.on("select-slot", (obj) => {
        console.log(obj.id);
    });

    return () => {
        booking.destructor();
    }
}, []);
// ...
Start the app to see Booking loaded with data on the page.
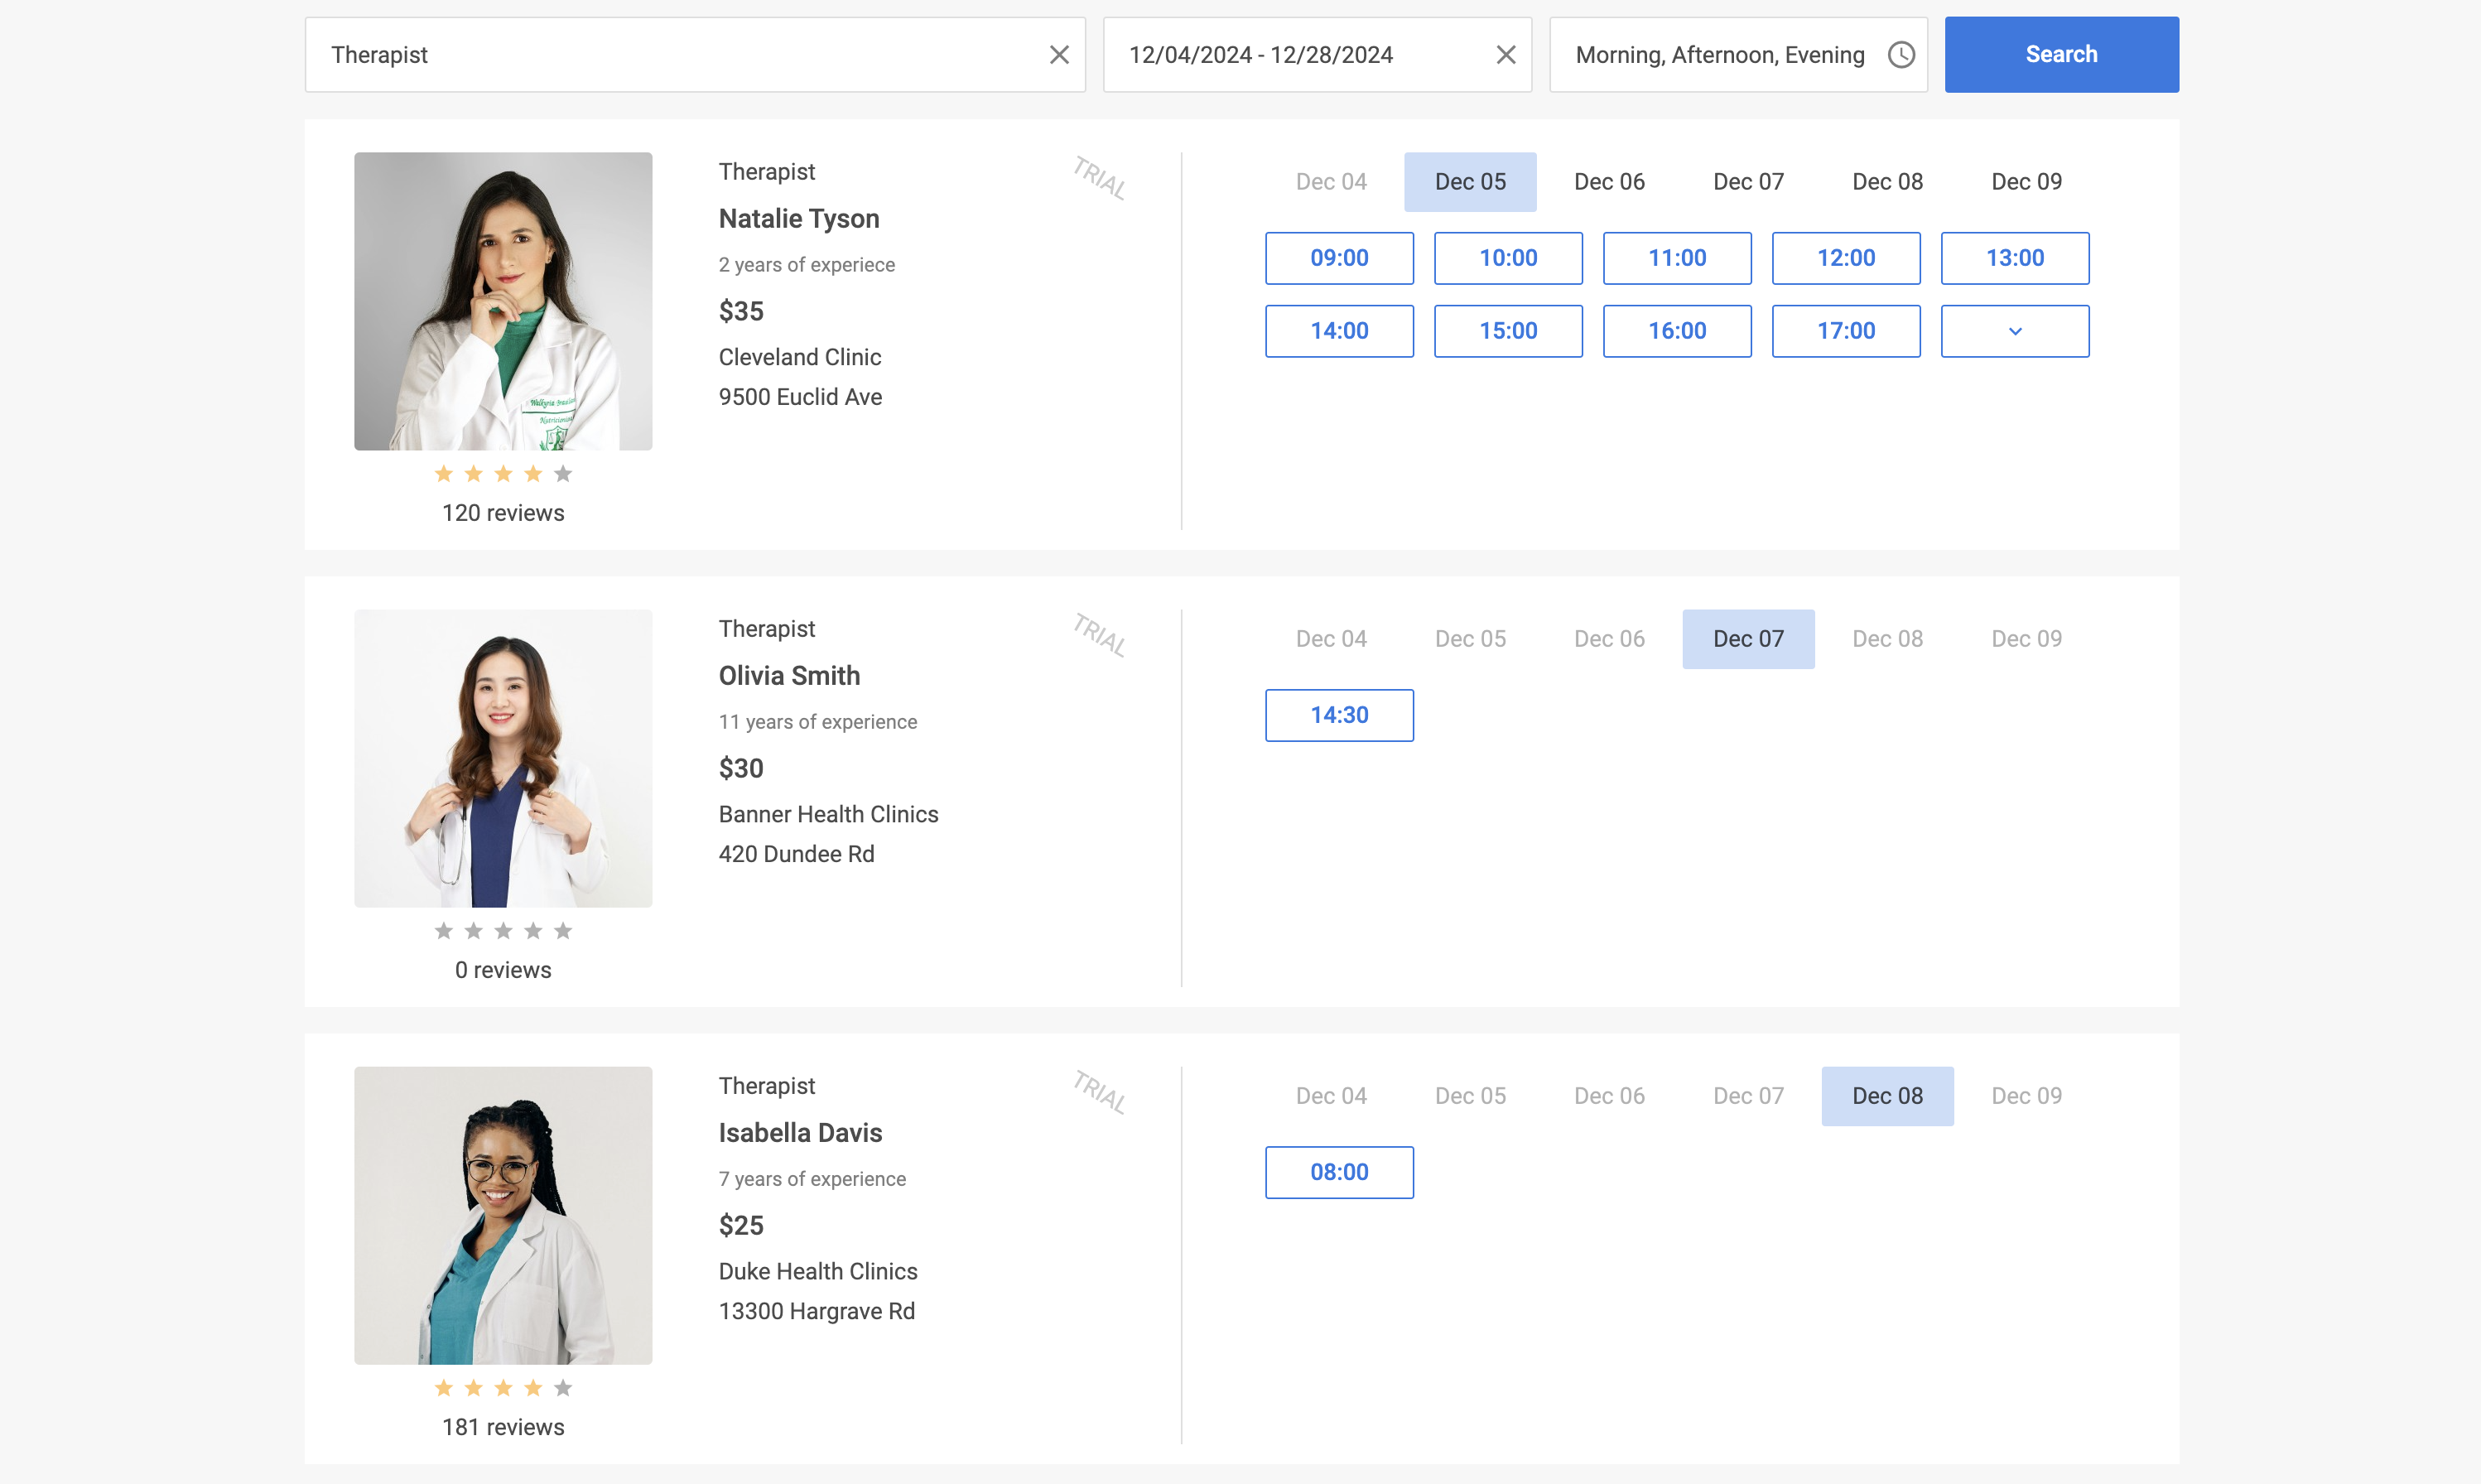
Customize the code to match your project requirements. The complete reference implementation is available on GitHub.